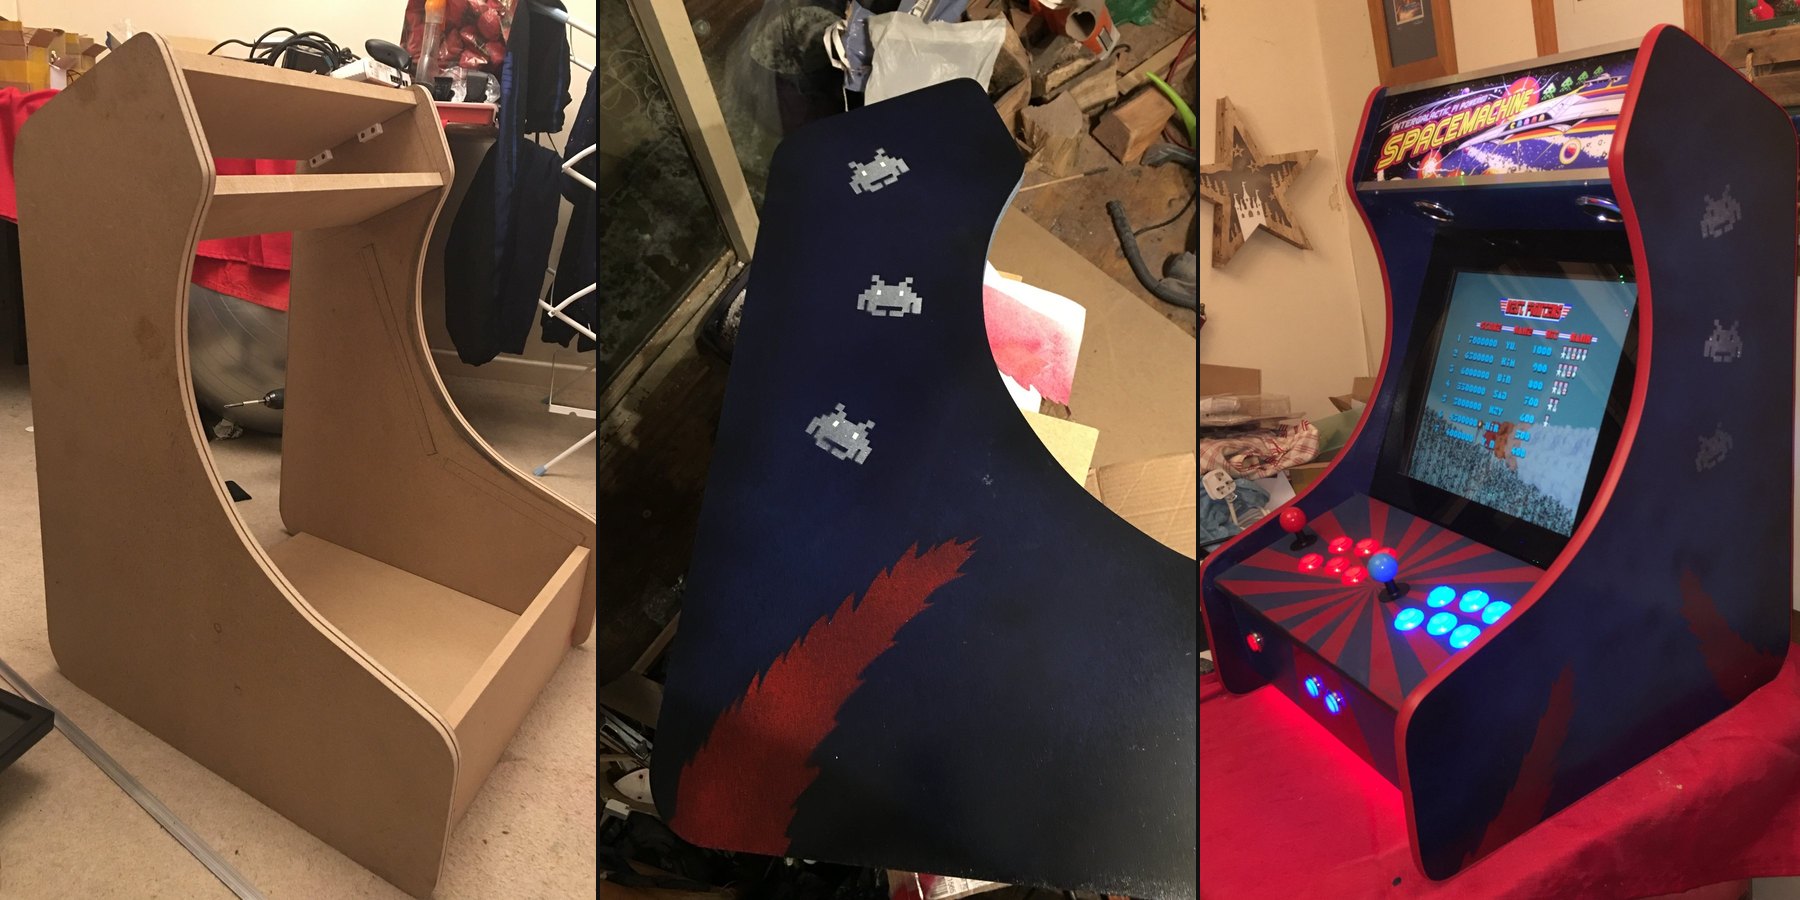
A two-player bartop arcade cabinet, built from a sheet of MDF with a Raspberry Pi running RetroPie inside. It got its name from the marquee: the Intergalactic Pi Powered SPACEMACHINE. I built it for the Raspberry Pi Big Birthday Weekend party at the Cotswold Raspberry Jam in March 2018, where it was hardly ever free.
This isn’t a step-by-step plan. It’s a tour of how it came together, from a pencil line on a board to a queue of kids at the Jam, with the parts and a few things I learned along the way.
At a glance
- Brain: a Raspberry Pi running RetroPie
- Body: MDF, cut from my own template, edged in red T-moulding
- Controls: two joysticks and six illuminated buttons per player, plus four more on the front panel, wired through zero-delay USB encoders
- Screen: a square LCD monitor, mounted behind a bezel
- Extras: stereo speakers above the screen, a printed marquee, LED underglow and one mains inlet with a switch on the back
The build
1 Draw the template
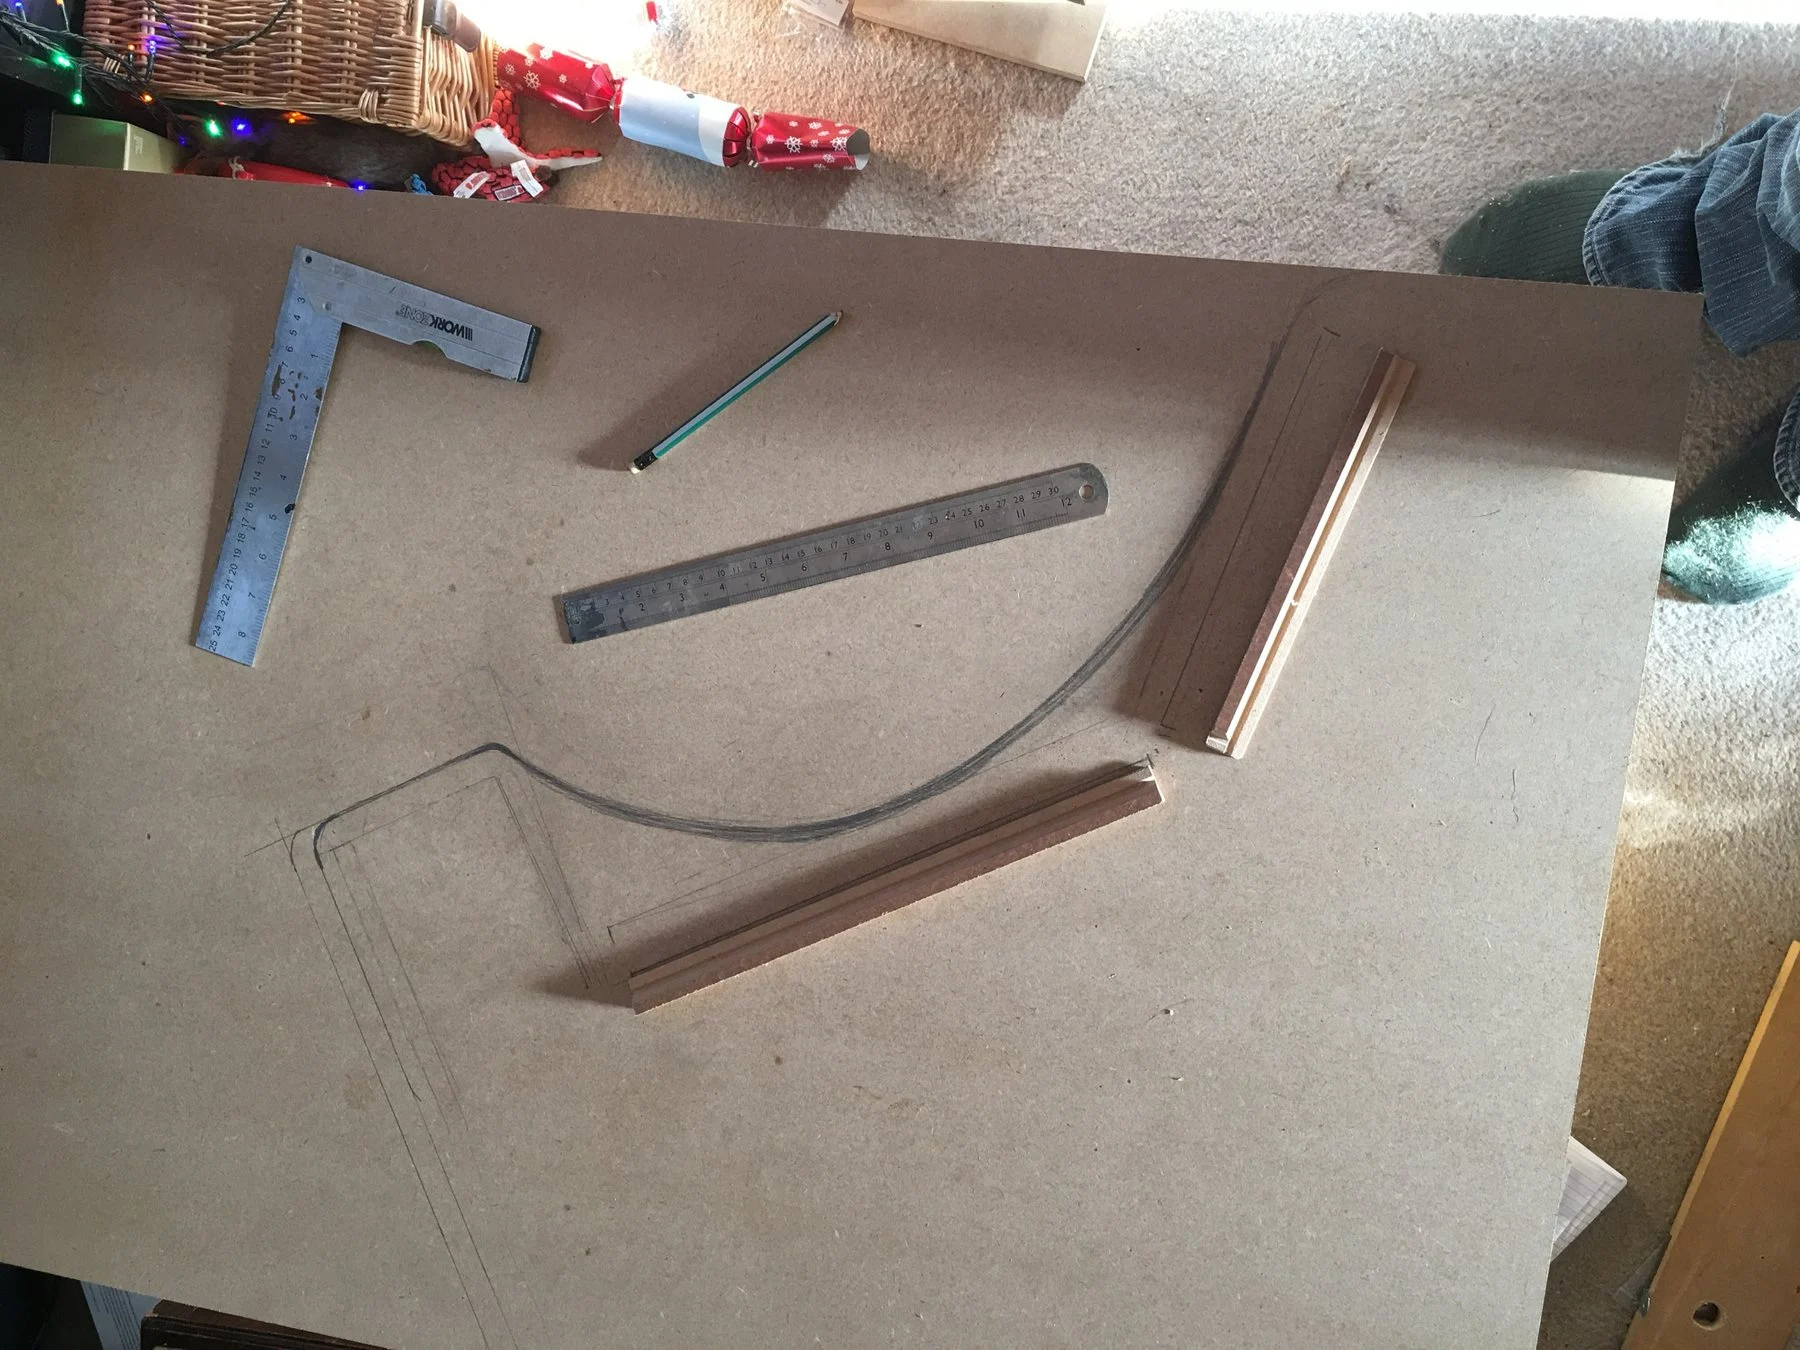
Everything hangs off the side profile, so that came first. I drew it full size on MDF with a square, a steel rule and a bent strip of wood for the big curve, and kept adjusting it until the screen and control panel angles looked right.
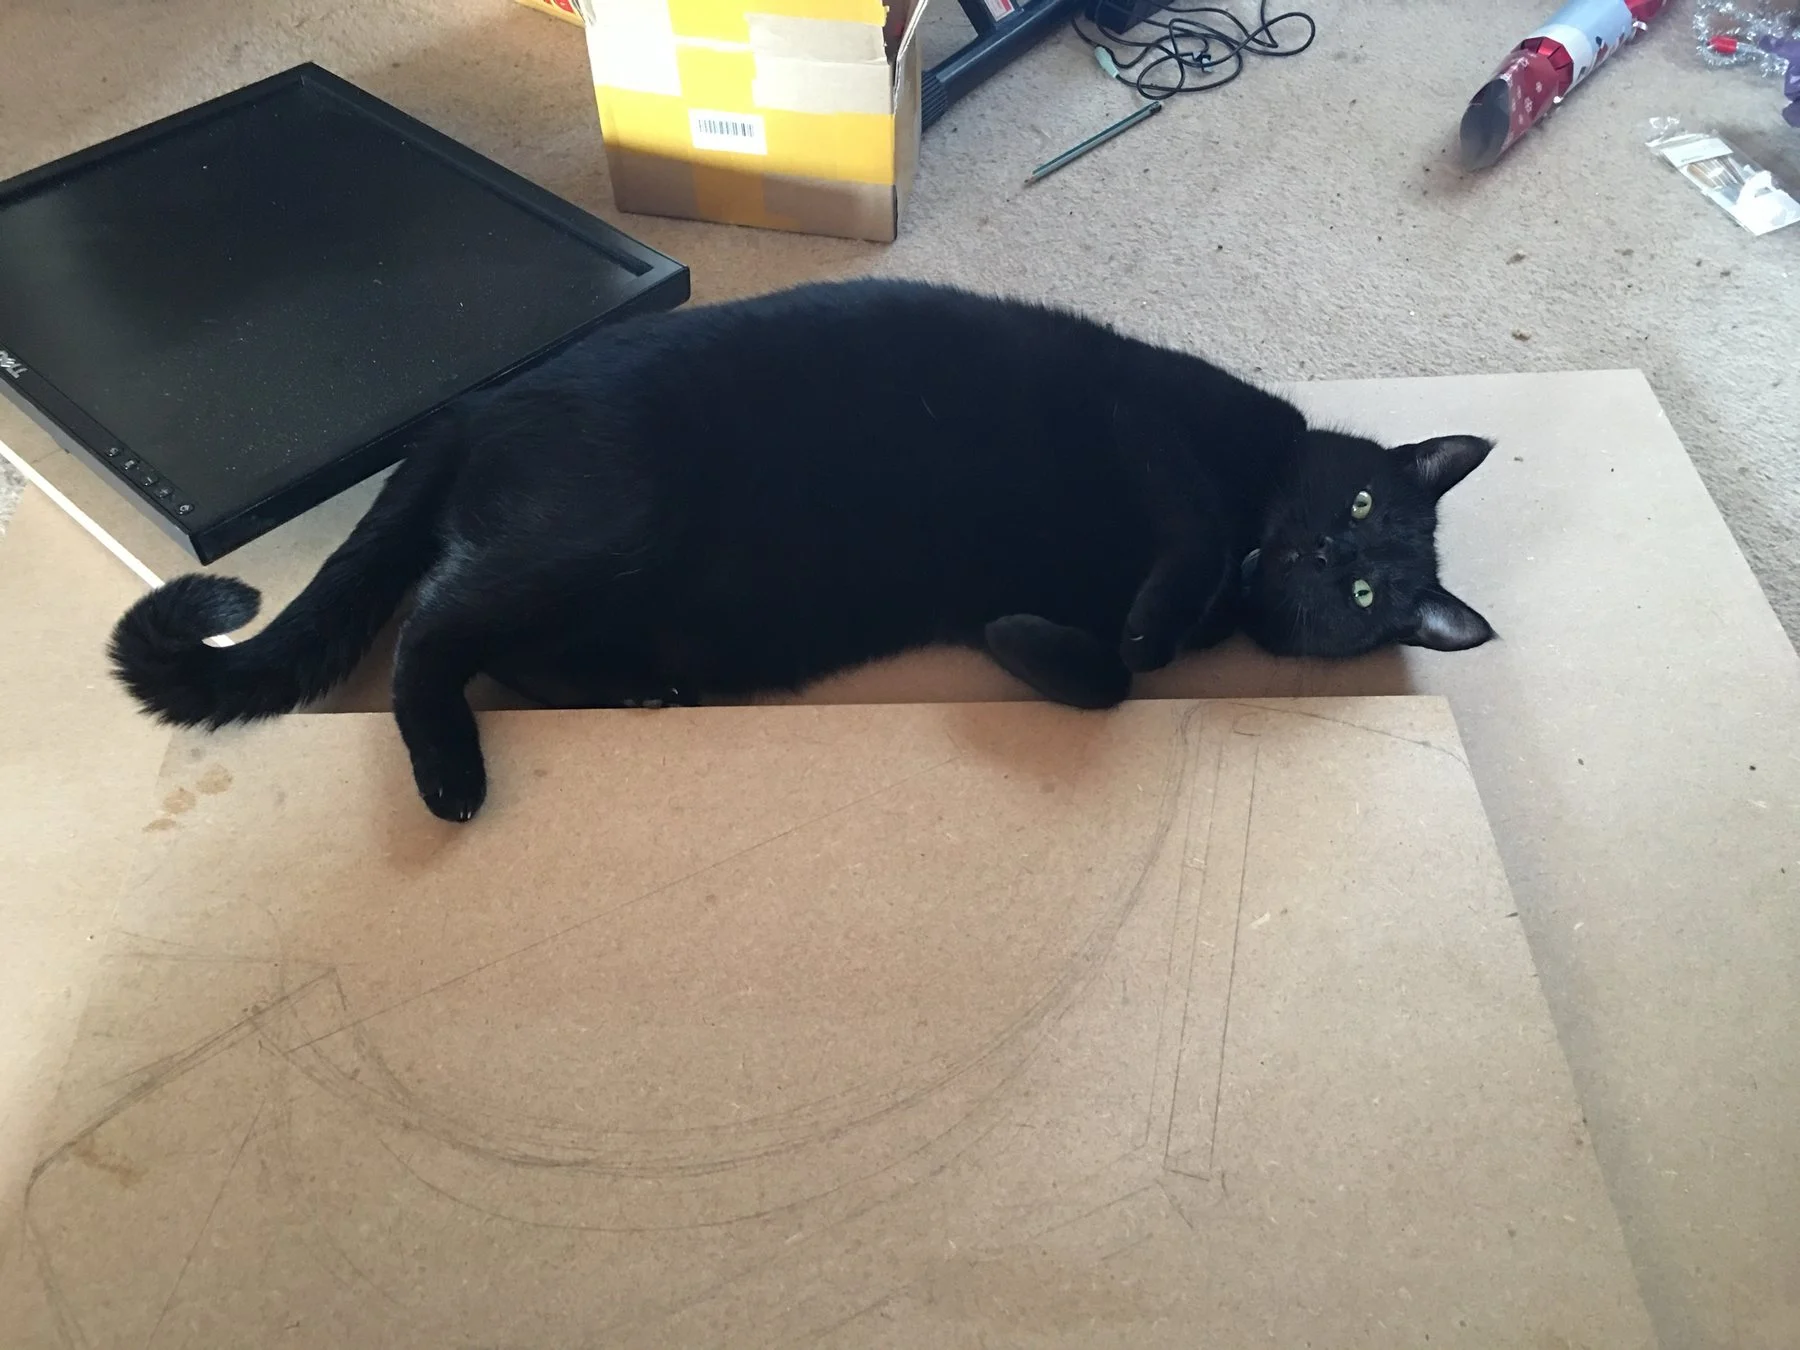
Every workshop needs a supervisor. Mine insisted on sitting on the template.
2 Cut the sides
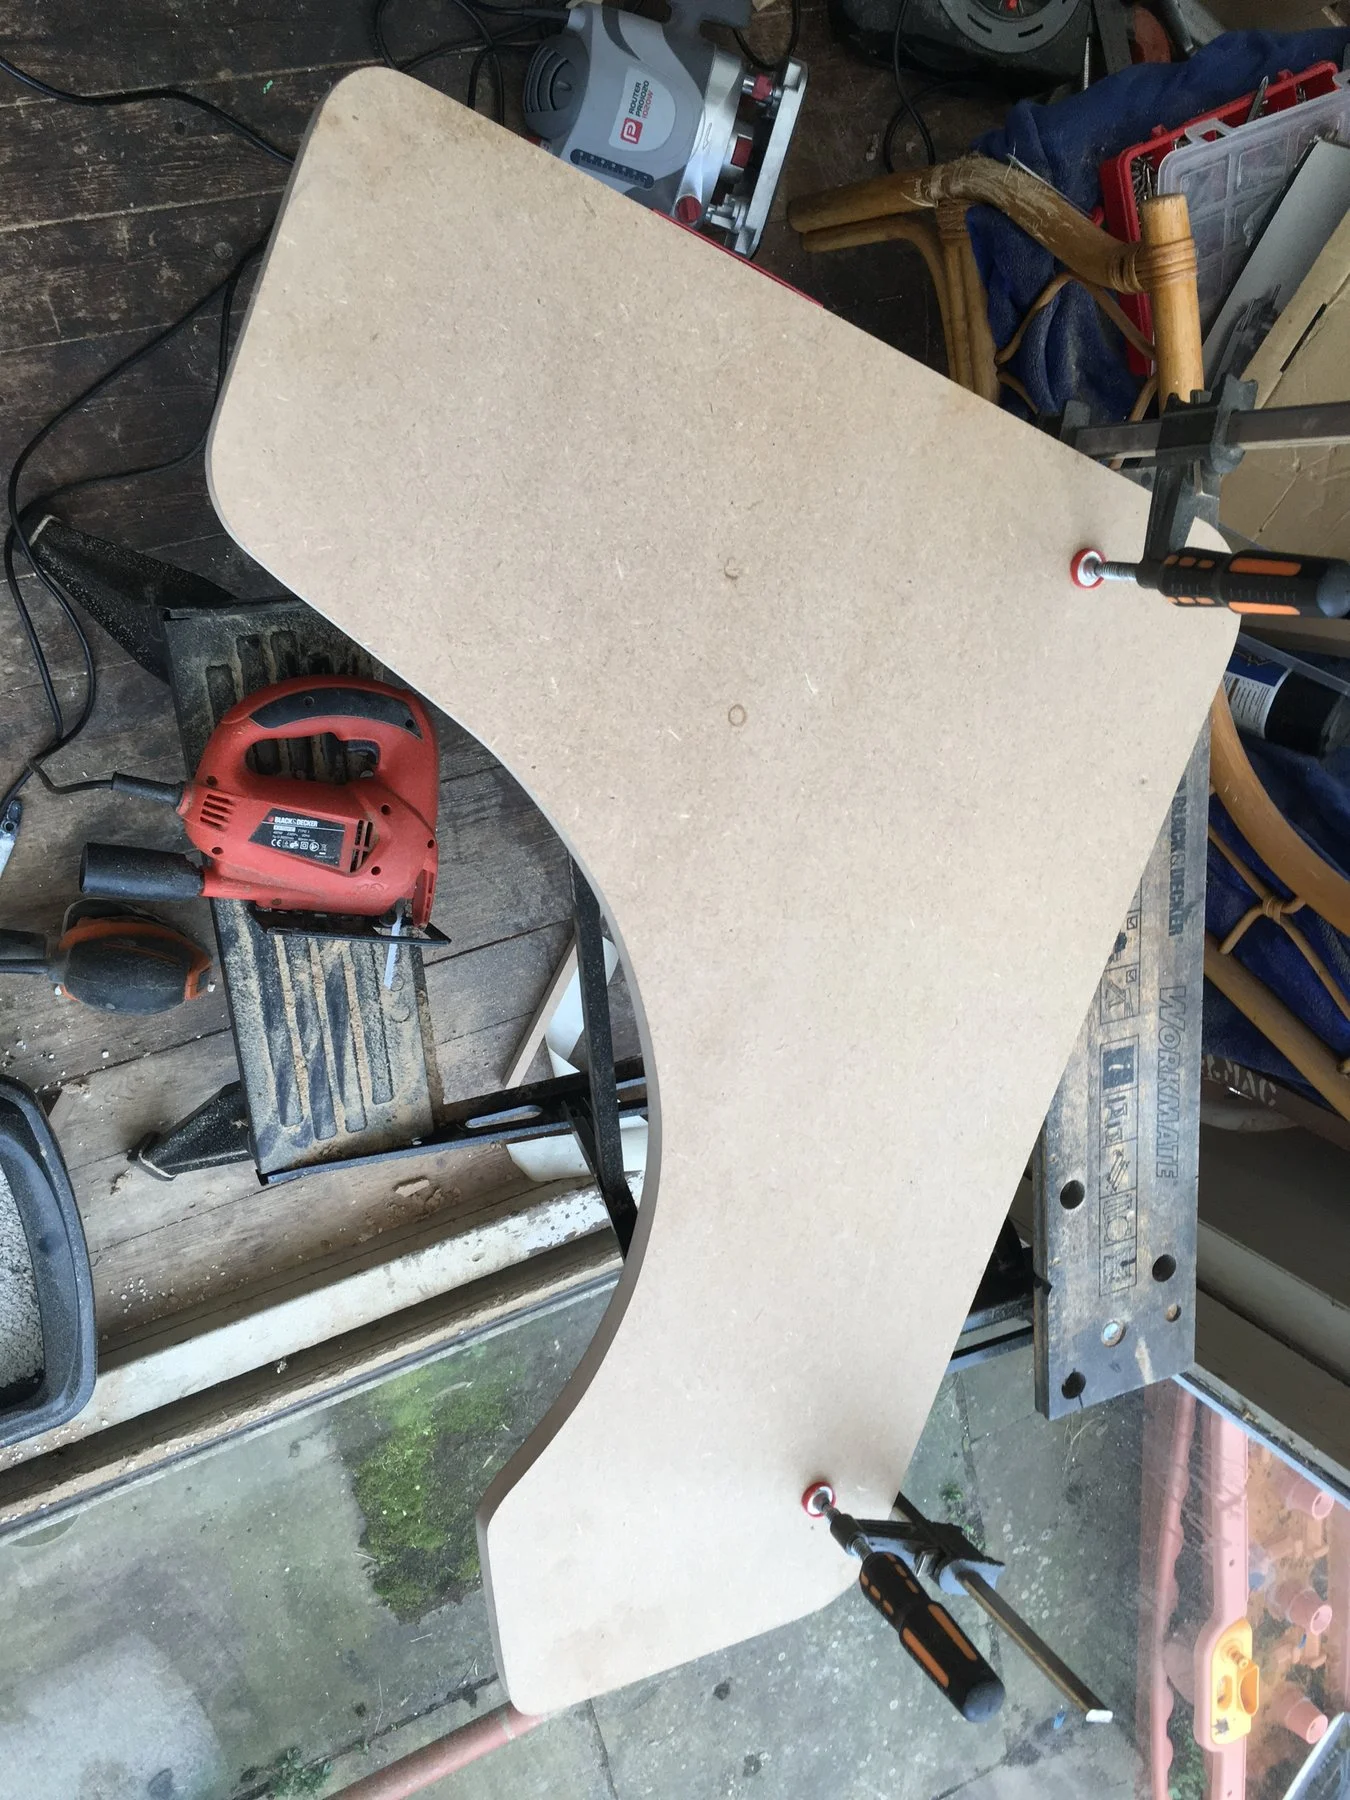
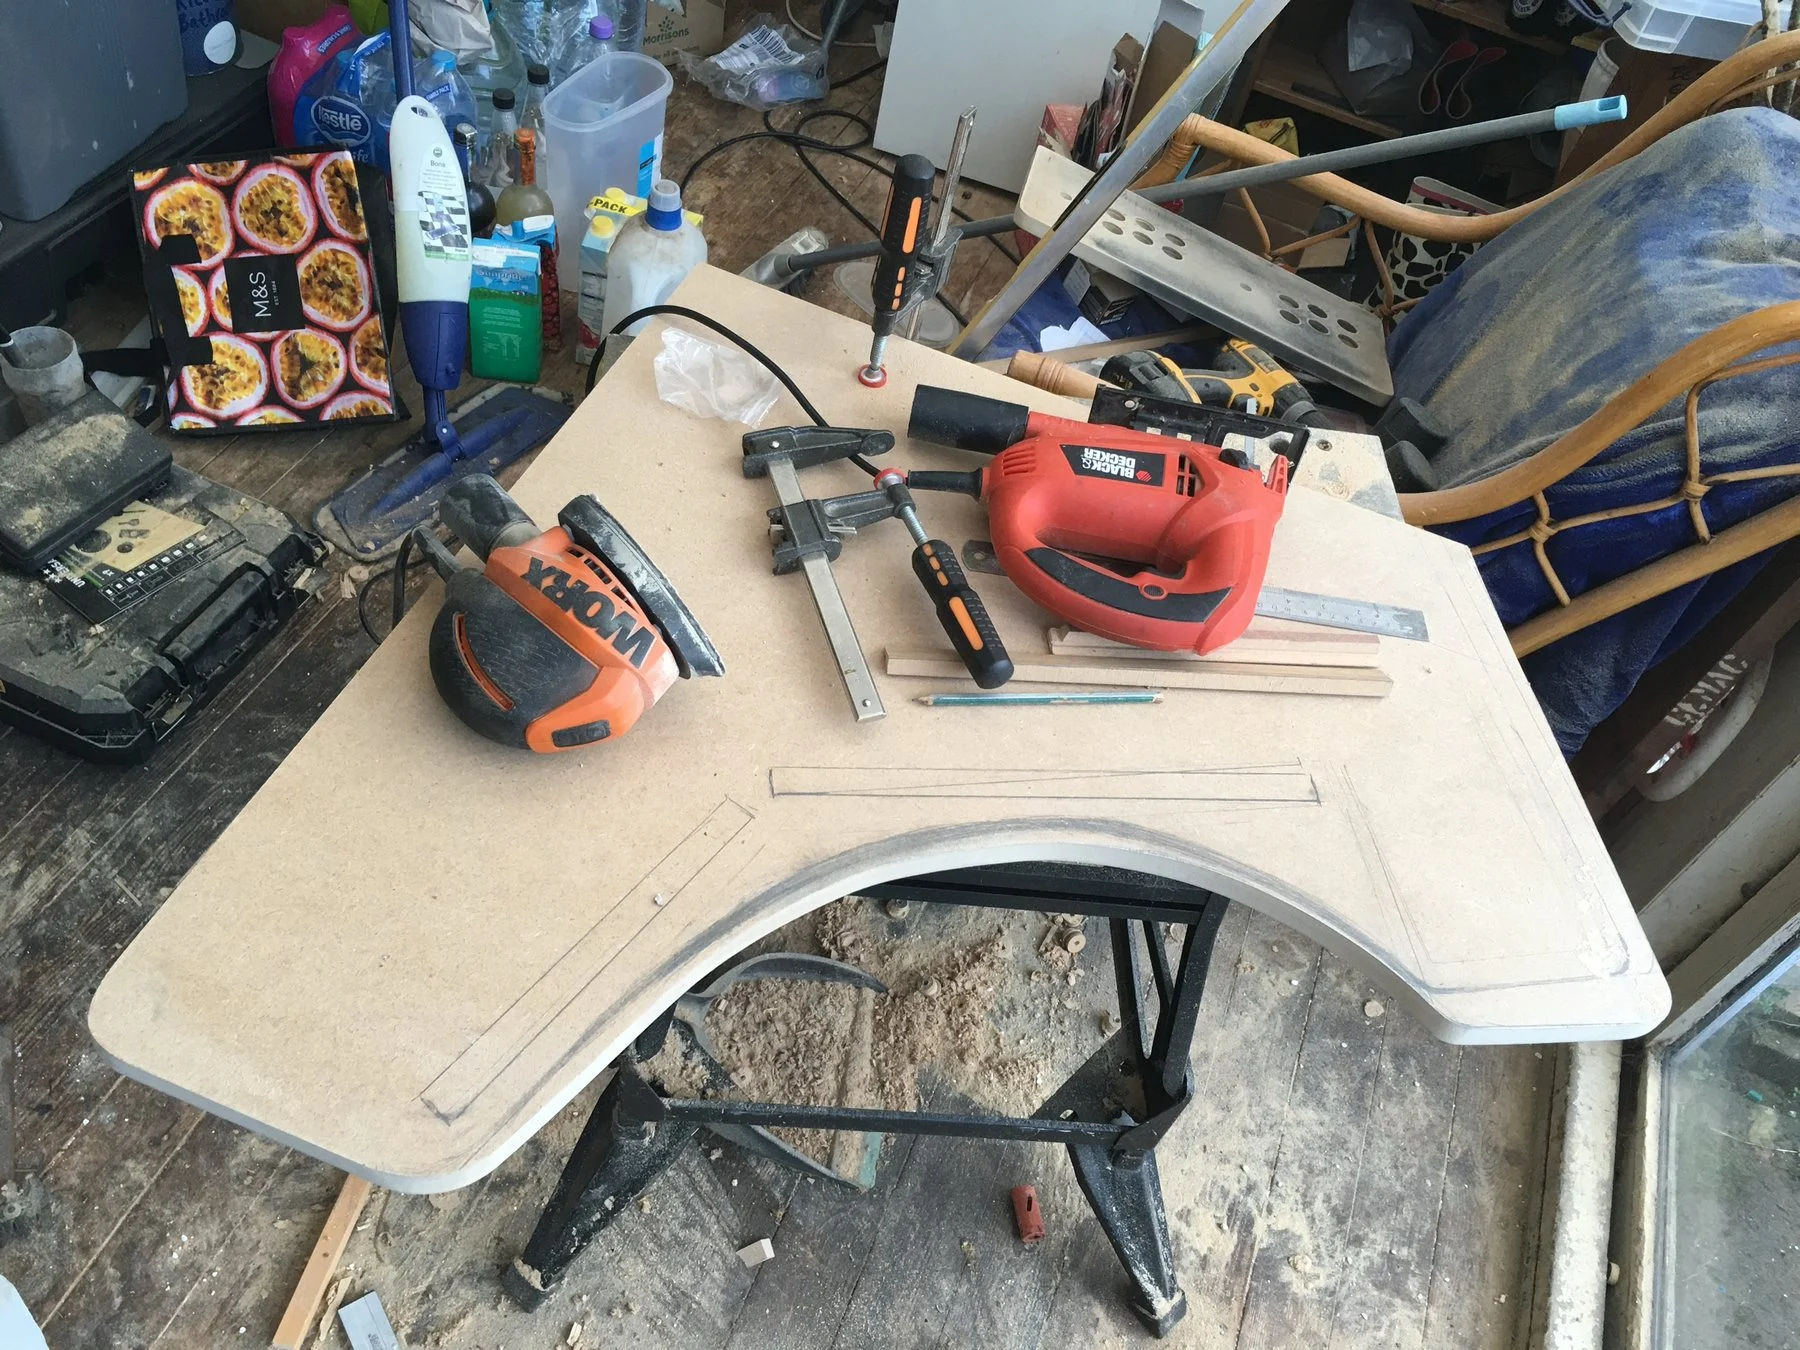
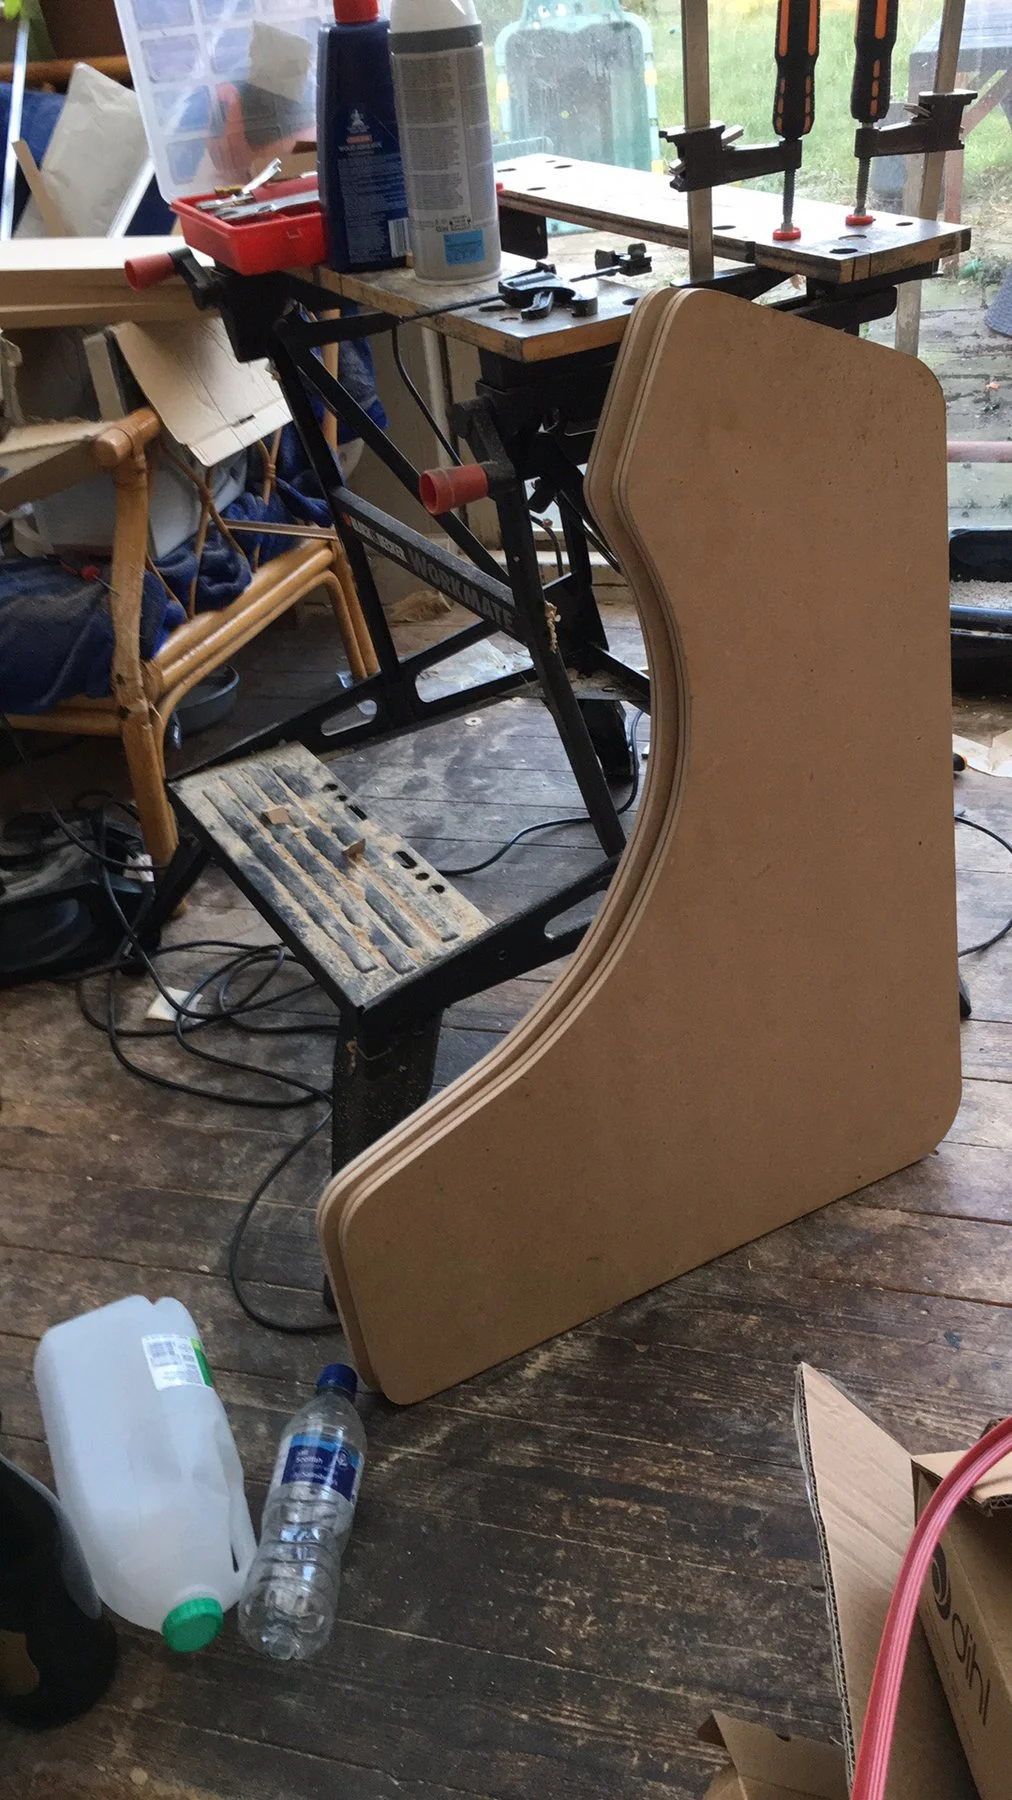
I cut the first side with a jigsaw and sanded the curve until it was smooth and fair. That piece then became the template: clamped to a second board, so both sides came out identical.
With the two sides together I pencilled in where every panel would sit, so the inside of each side matched the other.
3 Build the carcass
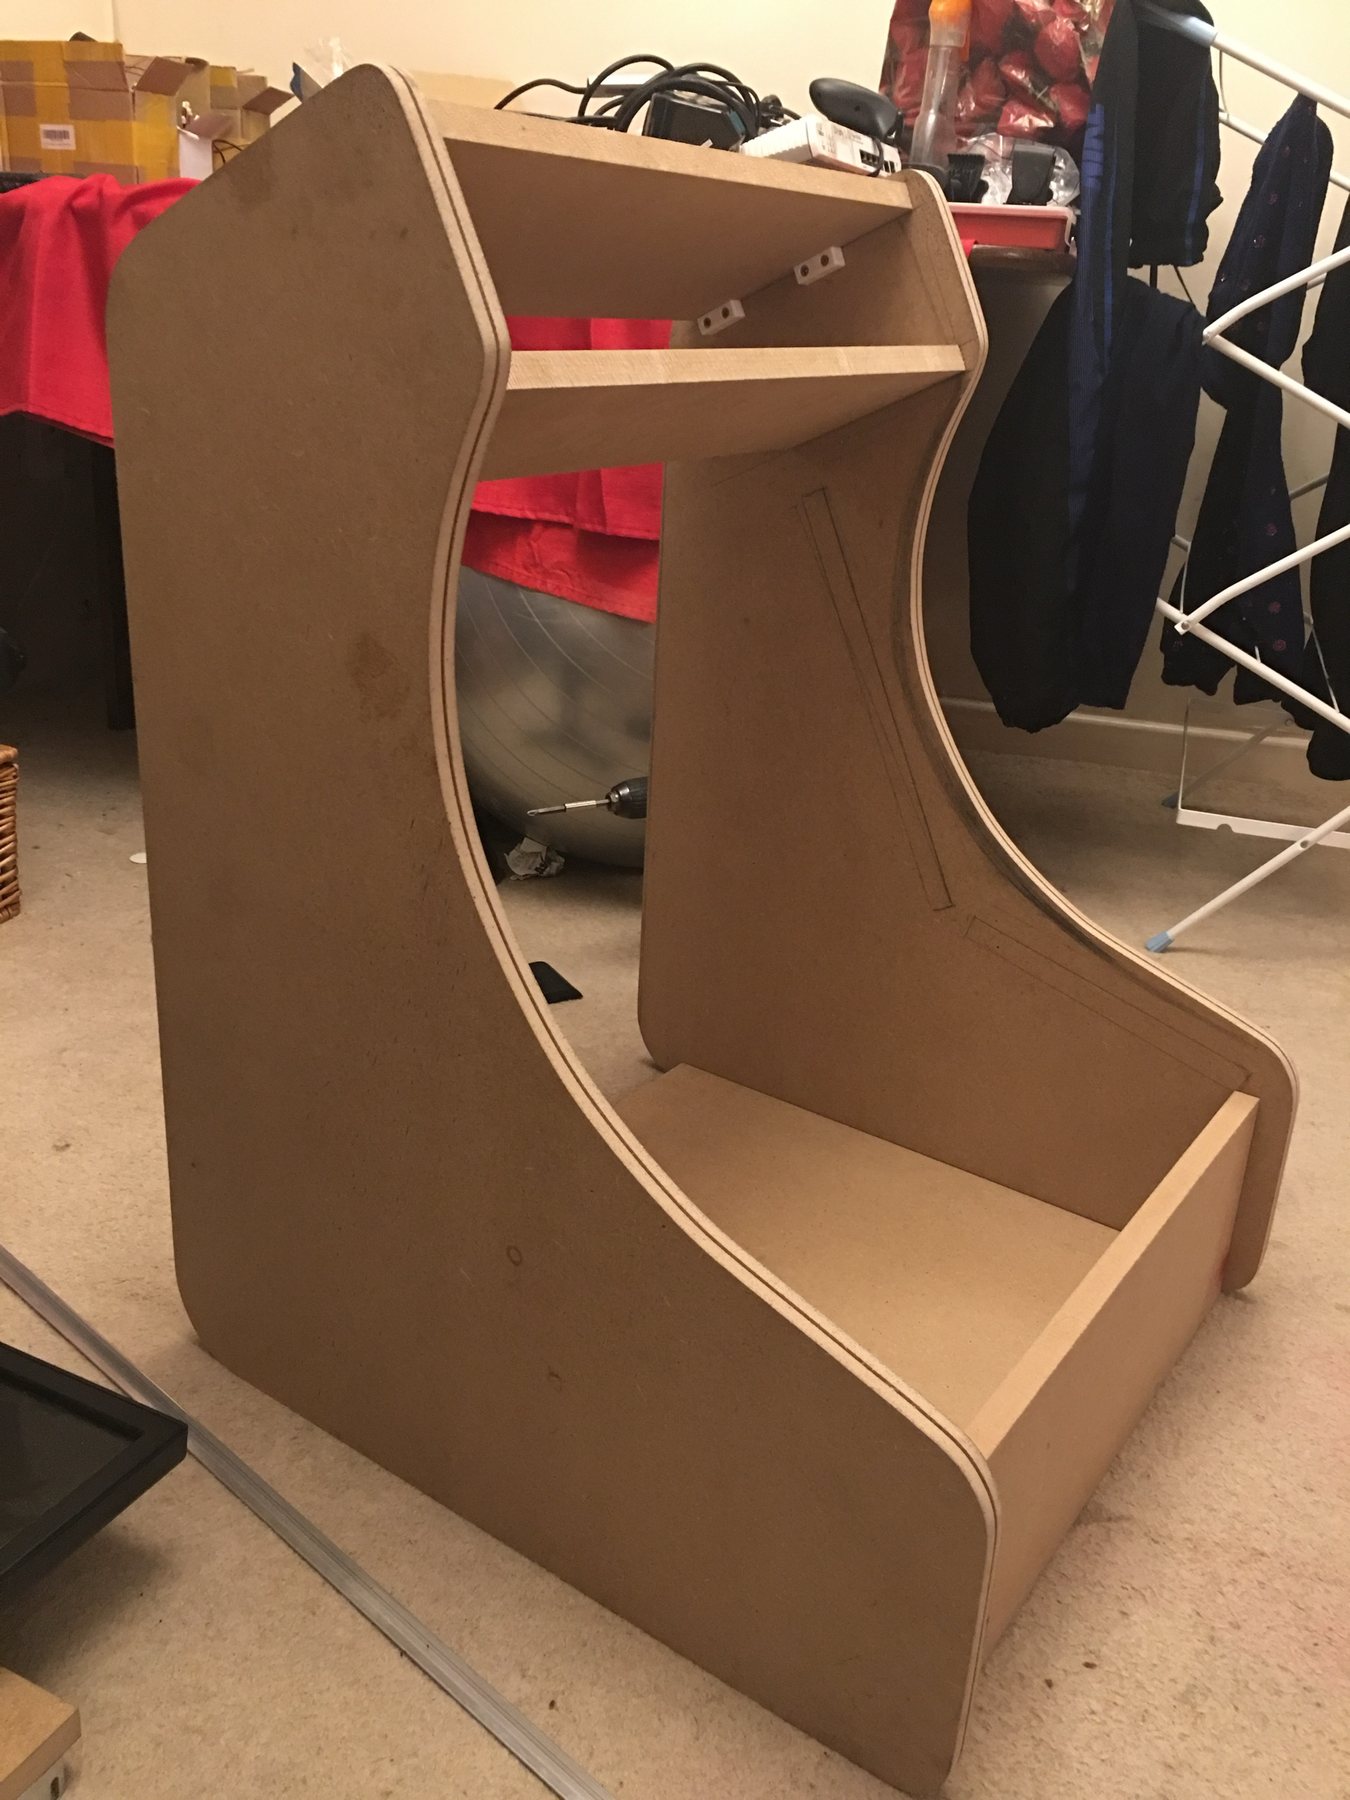
Then it started to look like an arcade machine. The panels between the sides make the marquee box, the speaker panel, the screen mount and the control panel box underneath.
Before I committed to anything I laid the joysticks and buttons out on a test panel to check the spacing for two players side by side.

4 Test fit the screen
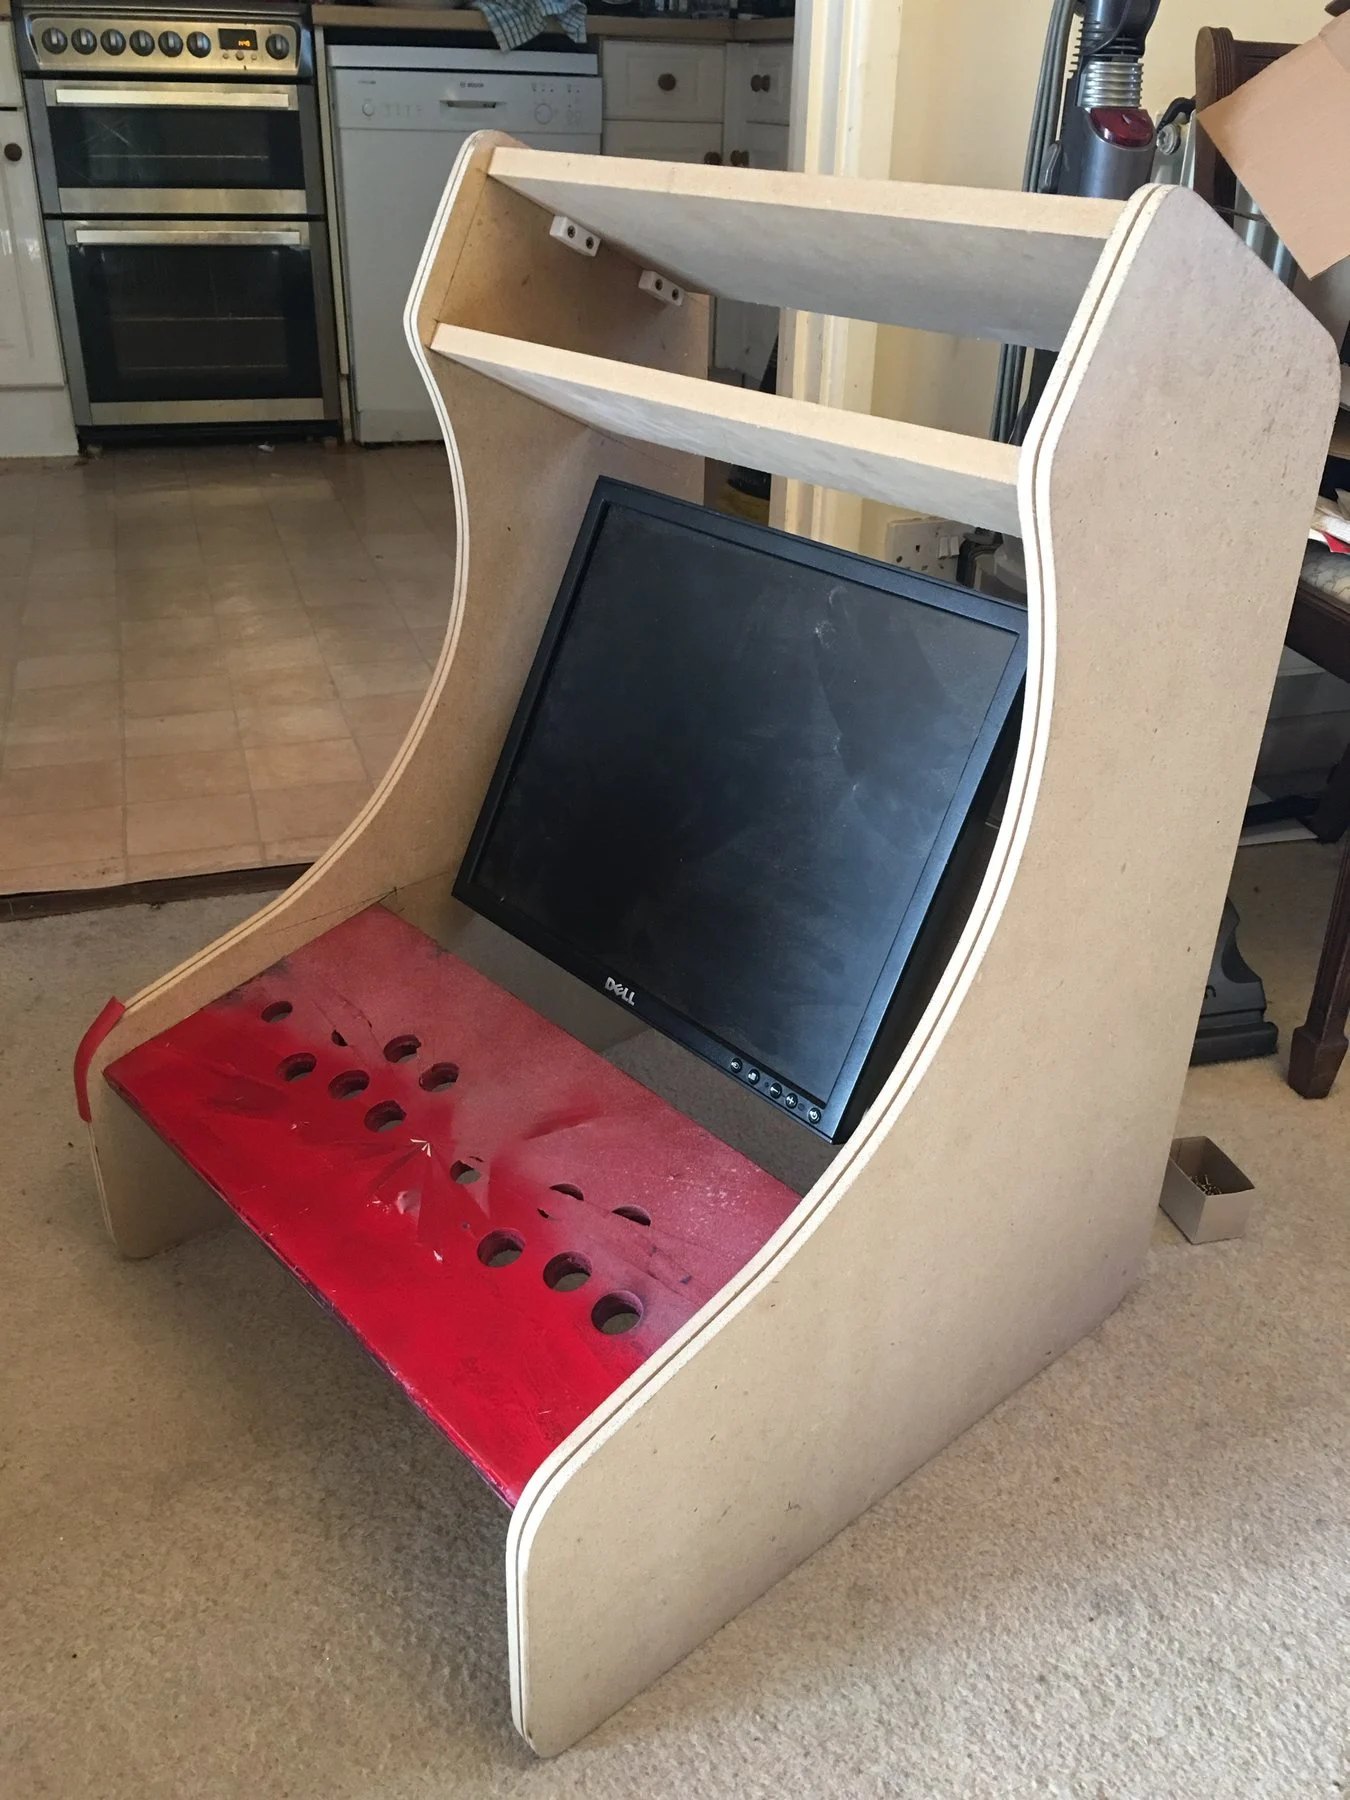
With the control panel holes cut and a first coat of red on it, I fitted the monitor to check the viewing angle and that everything cleared the panel before any paint went on the cabinet.

5 Paint
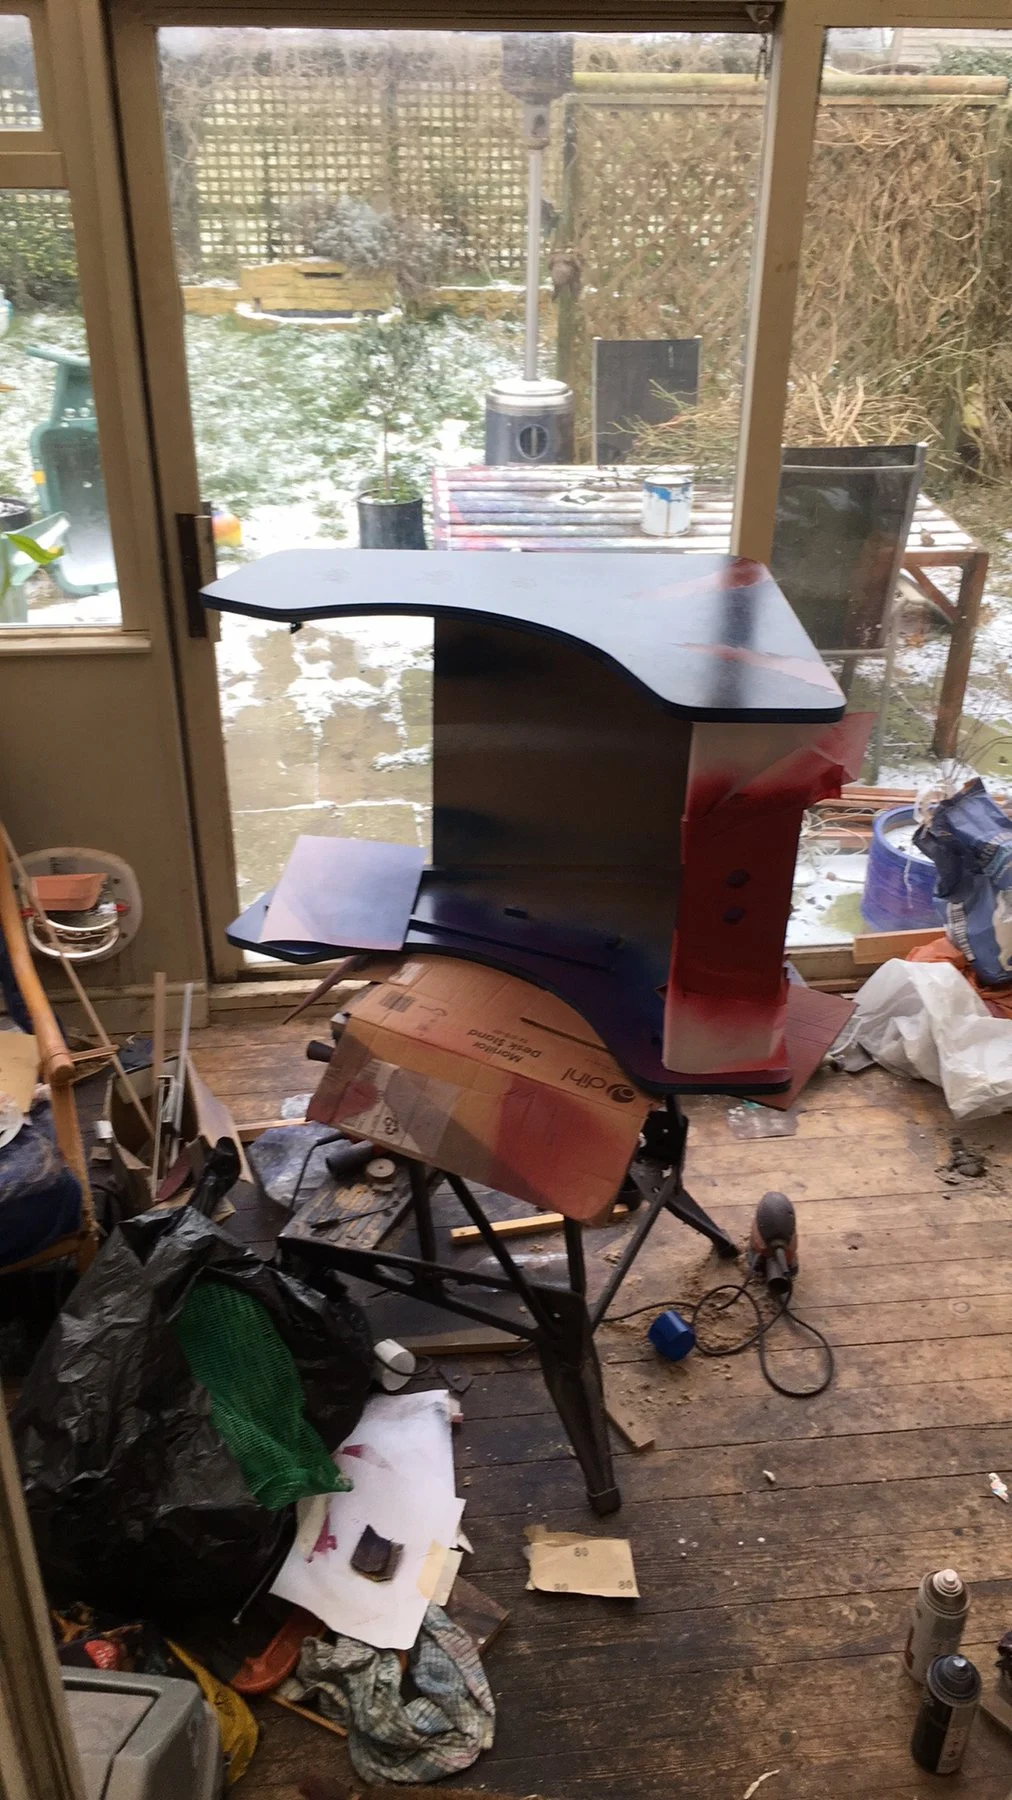
The cabinet went dark blue, with the screen masked off. Some of it was sprayed in the conservatory with snow outside, which I wouldn’t recommend if you’re in a hurry for it to dry.
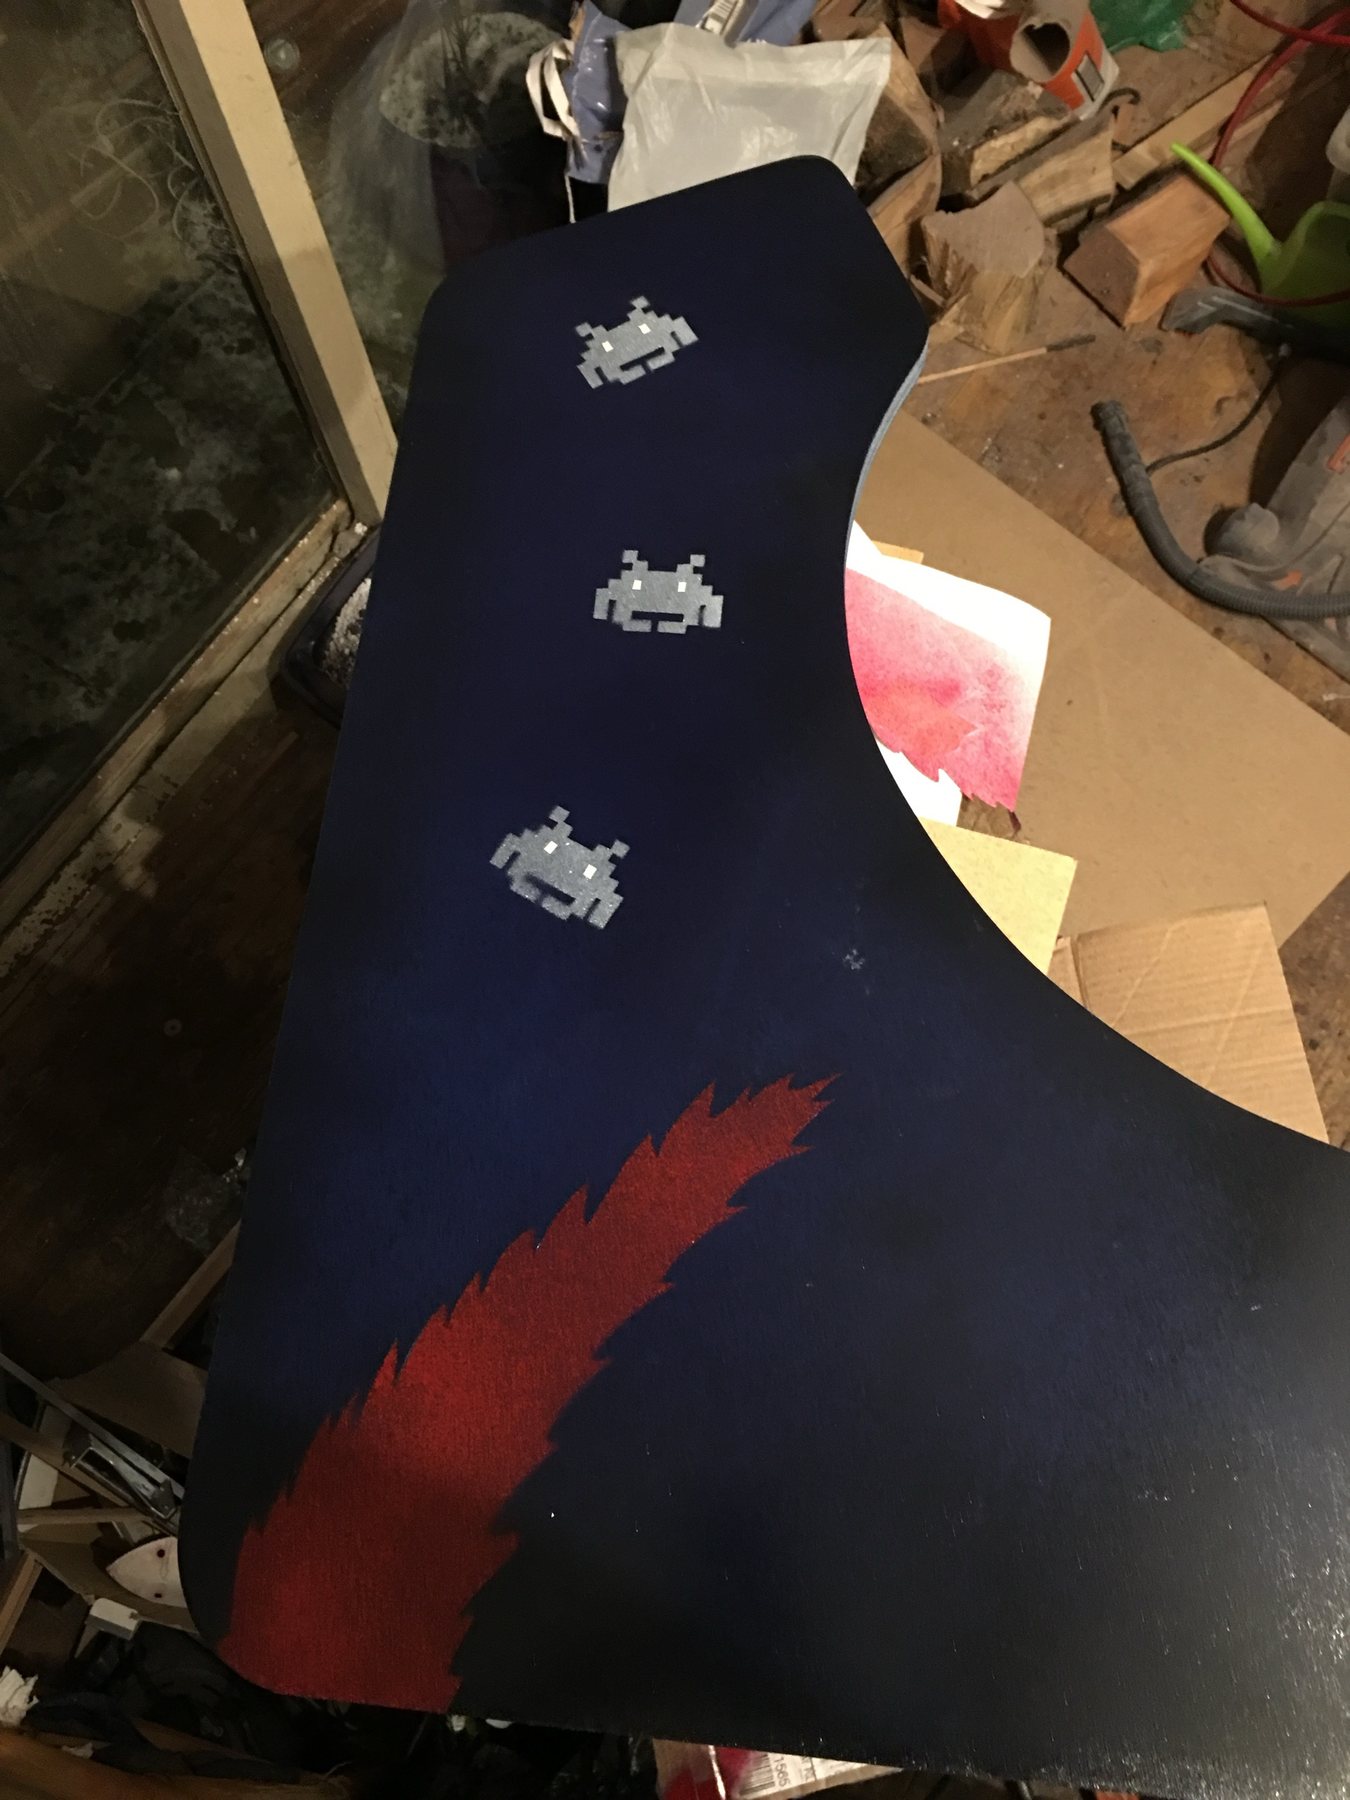
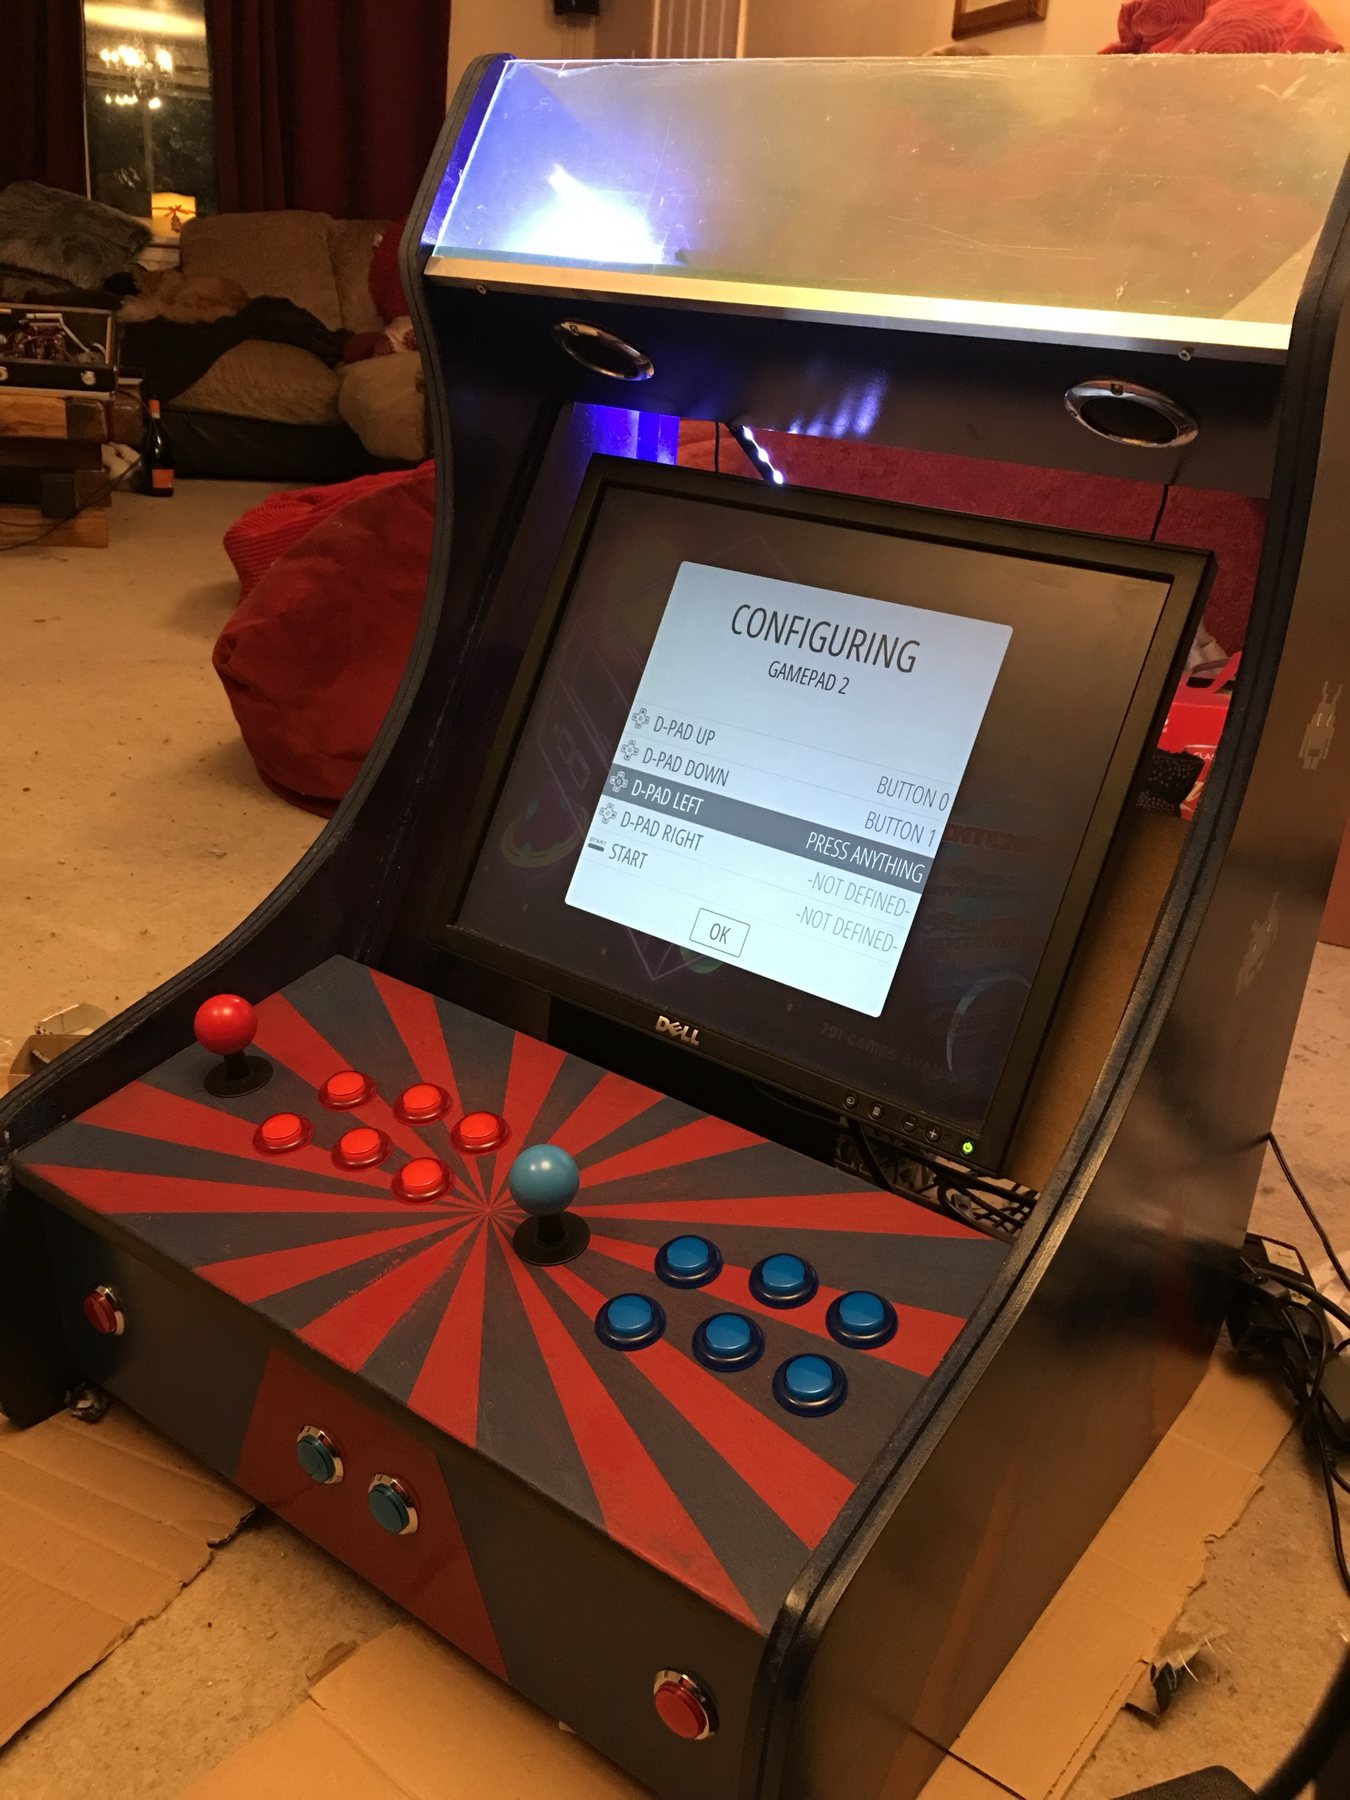
On the sides: three stencilled space invaders in silver and a red flame. The control panel got a red and blue sunburst, and the speaker panel stayed blue with chrome grilles.


6 Wire it up
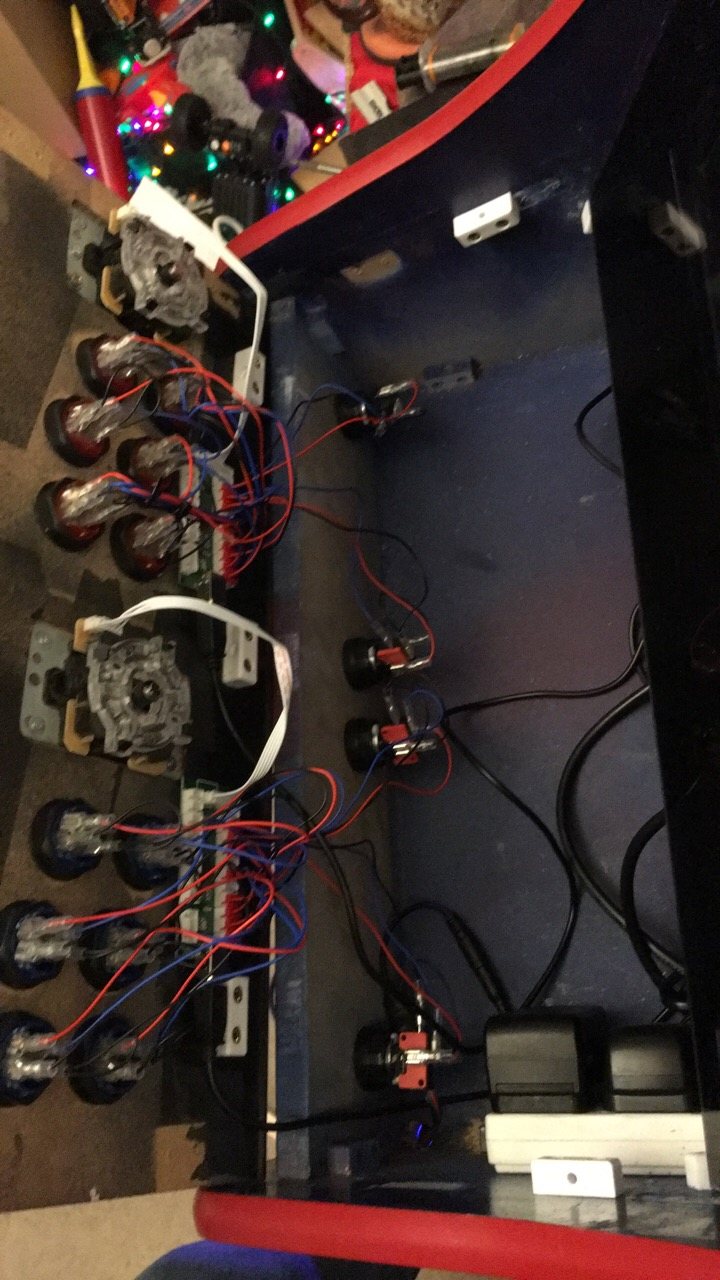
Each player’s stick and buttons run to a zero-delay USB encoder, which the Pi sees as a gamepad. No soldering to the Pi, and the illuminated buttons light up from the same boards.
Then RetroPie’s controller setup: hold a button, map every input, do it again for player two.
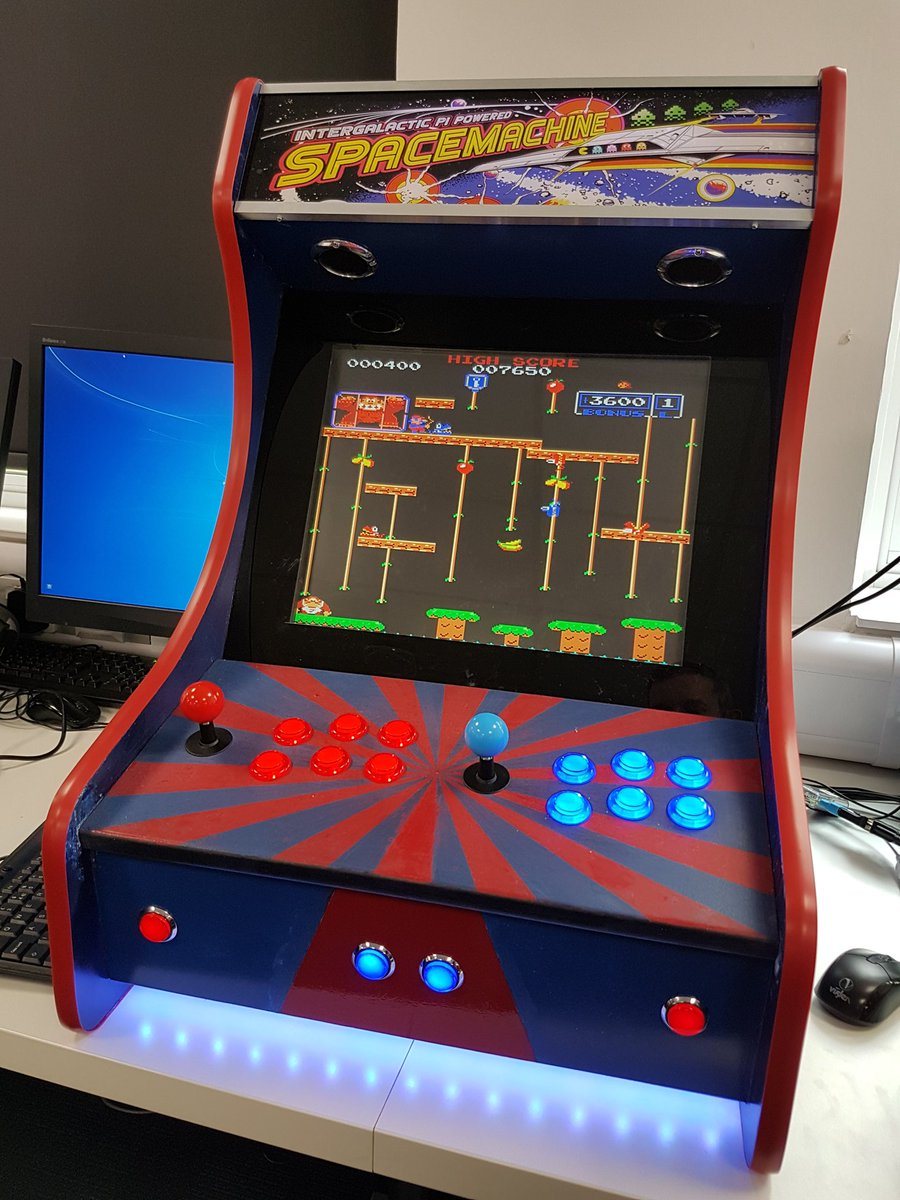
The finished SPACEMACHINE
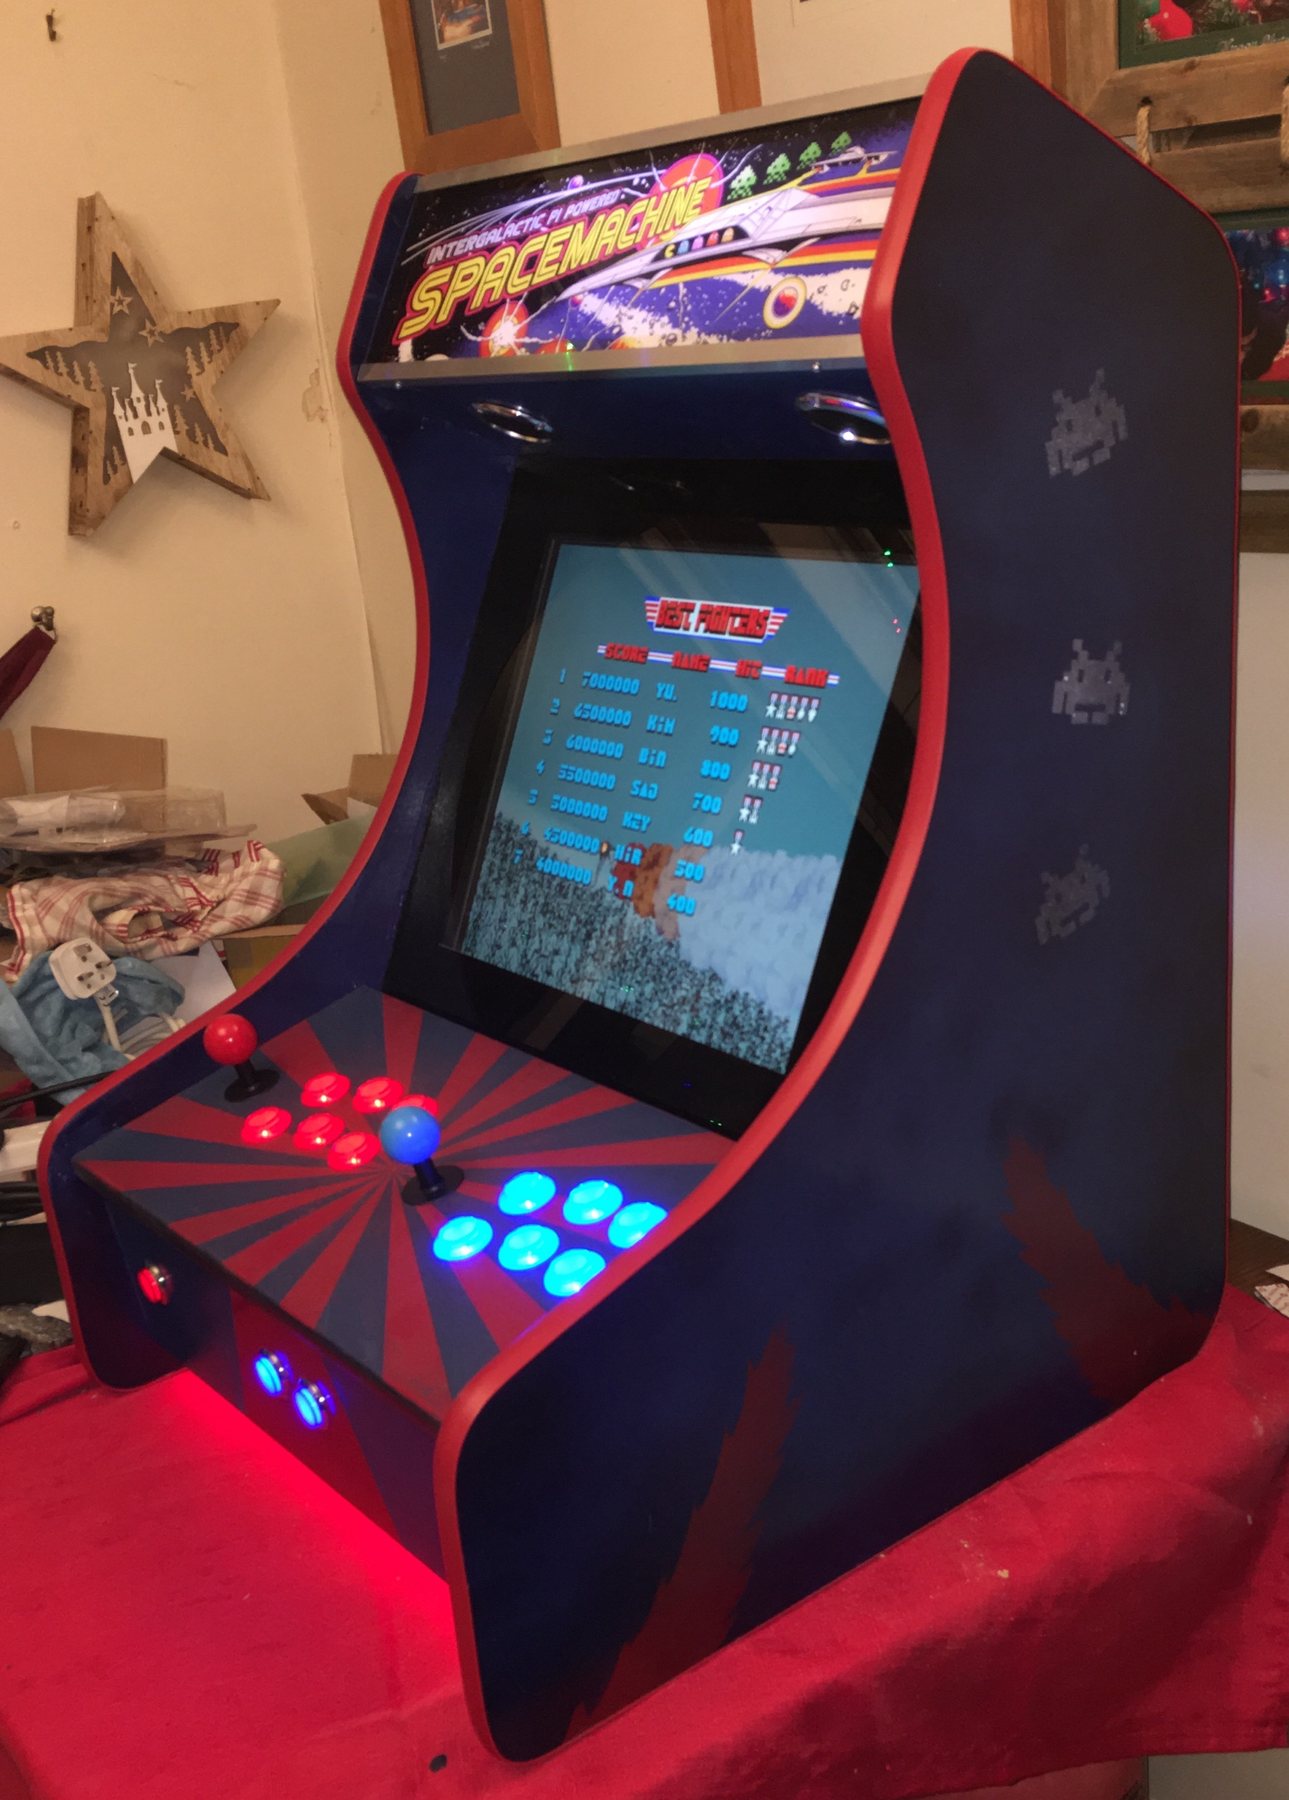

Red T-moulding round the edges, the printed marquee in an aluminium trim, illuminated buttons and an LED strip underneath to give it a glow on the table. Everything runs from a single mains inlet with a rocker switch on the back.
\n\n\n\nIt’s one of three cabinets I’ve built: a tiny bartop that didn’t quite come out the way I wanted, this one, and a full-size machine. Meet the mini Machine and The Machine.
At the Jam
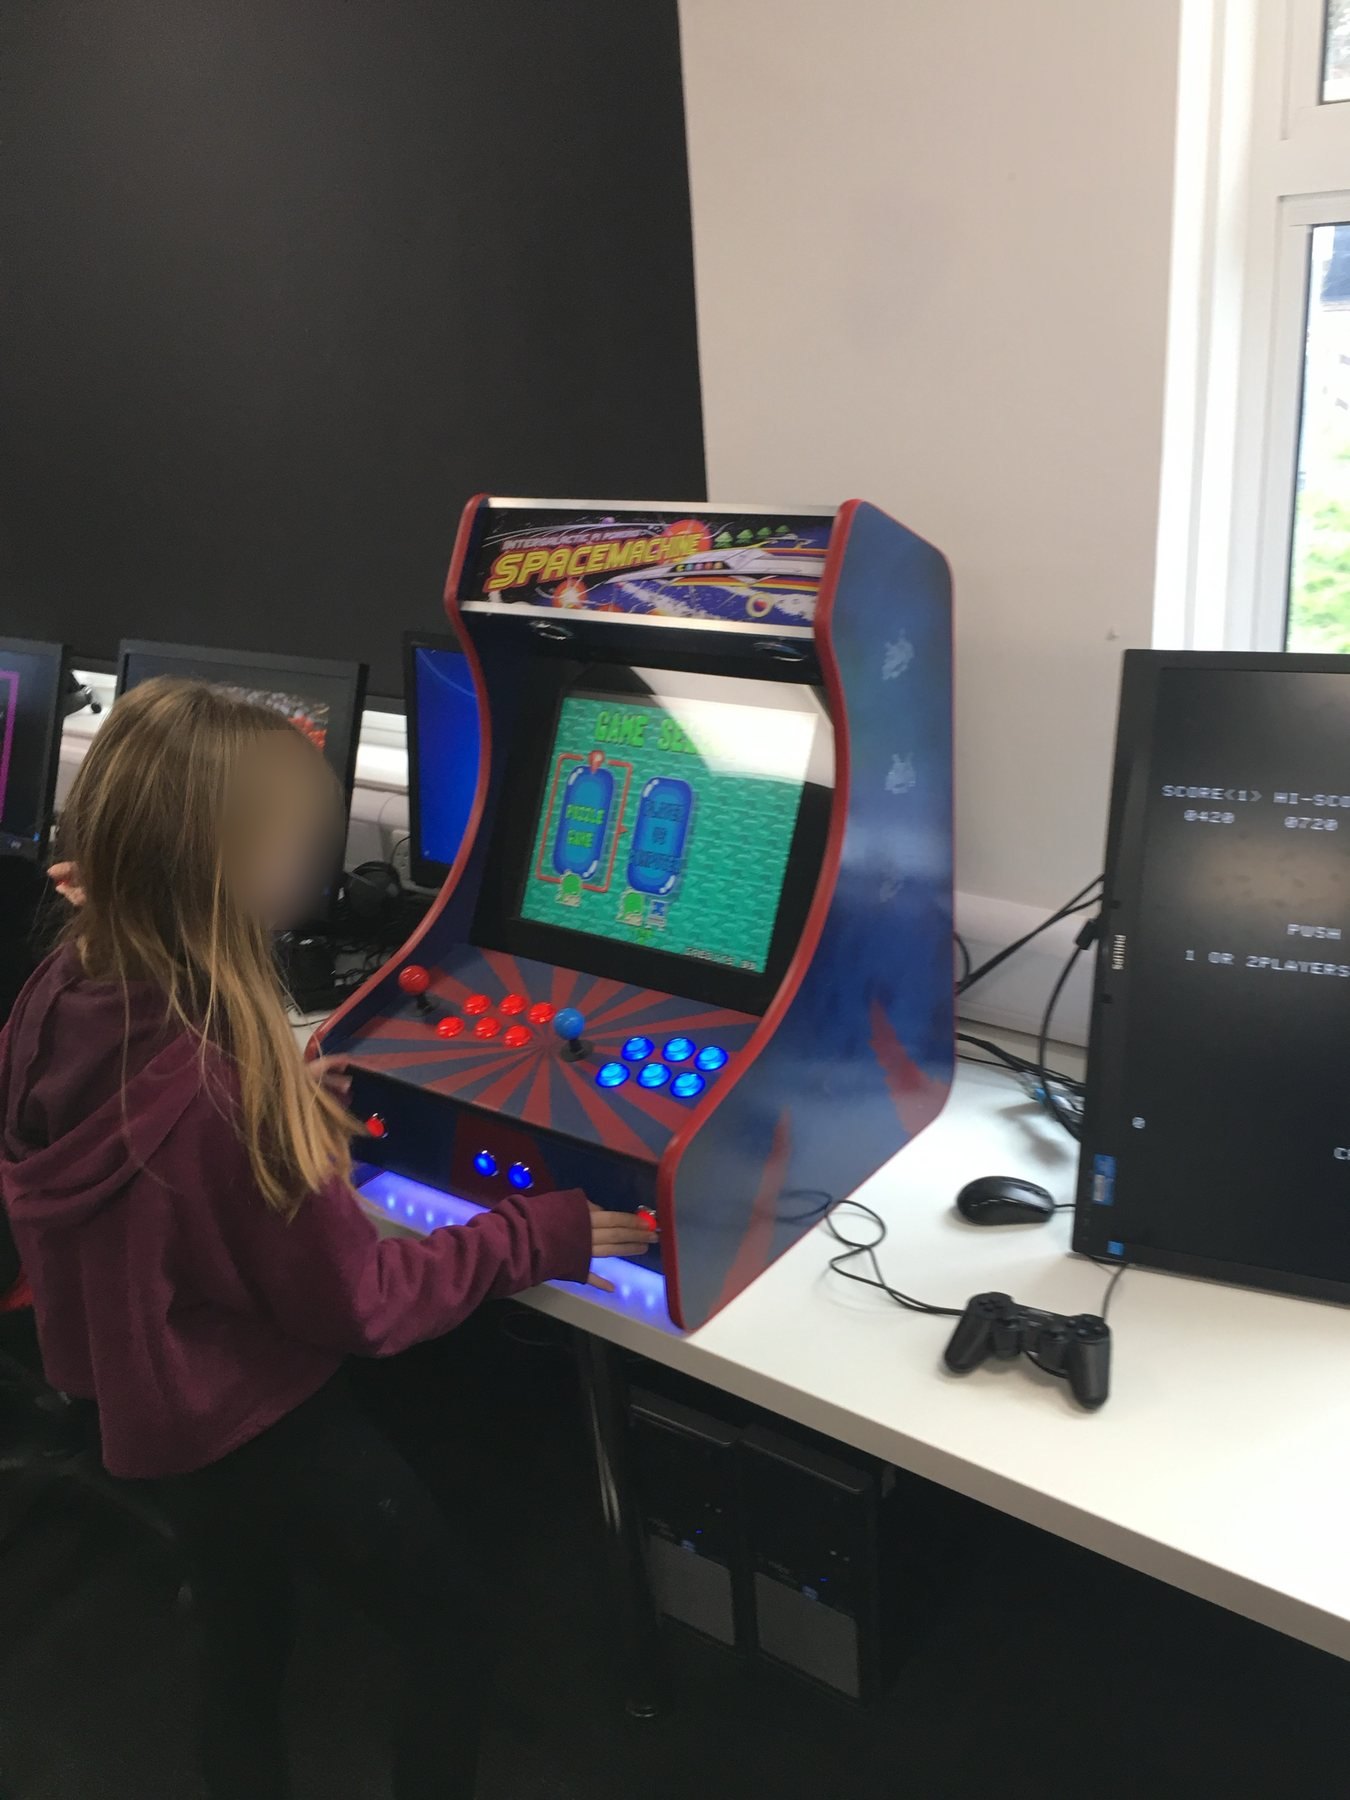
It was built for the Raspberry Pi Big Birthday Weekend party at the Cotswold Raspberry Jam on 3 March 2018, and it earned its keep there. It lived on the retro gaming tables next to a row of Pi-powered consoles. Two sticks meant two players at once, Street Fighter II got a lot of use, and there was usually someone waiting for the next go. Even a couple of the team from Raspberry Pi HQ had a game.

Parts
- MDF sheet for the sides and panels
- Raspberry Pi, running RetroPie
- Two zero-delay USB encoders
- Two joysticks with ball tops (one red, one blue)
- Illuminated arcade buttons: six per player, plus four for the front panel
- A square LCD monitor
- Two speakers with chrome grilles
- Printed marquee with aluminium trim
- Red T-moulding for the edges
- LED strip for the underglow
- Mains inlet with a rocker switch
Tools
- Jigsaw
- Router (for the T-moulding slot)
- Detail sander
- Drill and hole saws for the buttons and speakers
- Clamps and a workbench
- Spray paint, masking tape and stencils
If you build one
- Template first. Get one side perfect and copy it. It’s much easier than cutting two matching curves freehand.
- Test the control layout on a scrap panel before drilling the real one. Hands and elbows need more room than you think with two players.
- Fit the screen early. The angle you choose decides almost everything else.
- Zero-delay encoders make the electronics easy: no soldering, and RetroPie sees them as ordinary gamepads.
Be careful: MDF dust is nasty, so wear a proper mask and cut outside or with extraction. Spray paint needs ventilation, and anything involving mains power should be done safely or by someone qualified.
Build and photos by Stuart Fox. Jam photos from the Cotswold Raspberry Jam, 2018, with faces blurred.
Composer for TV and film. If you're working on something, I'd love to hear about it.