I’m a self-confessed big kid. When I turned 30 I found myself craving the things I’d wanted when I was 10: robots, retro computers, consoles… and above all, an arcade machine. In the spring of 2010 I finally built one.
This is the story of The Machine, adapted from the build diary I wrote at the time, with the original photos.
At a glance
- Built: control panel in 2005, cabinet in about four weeks in spring 2010
- Brain: a PC running Windows XP, with Maximus Arcade as the front end and MAME for the games
- Controls: two joysticks and buttons from Ultimarc, wired into an Ultimarc board, on a panel finished in blue kitchen laminate
- Glass: plexiglass from Hayden Brown Plastics in Gloucester, artwork printed by Image Design at Staverton Airport
- Extras: speakers in the canopy, a sheet-metal footrest, a pull-out keyboard tray and, later, blue LED strips
Where it started
I did have an arcade machine once. When I was 14 I bought a 1970s Space Invaders cabinet, converted from an older game, for £20 from a junk shop. It was the size of a large van and barely worked: it needed switching on and off 10 to 15 times before the board would boot without crashing. None the less, it gave me and my friends hours of fun.
Sadly the 10 or 15 restarts turned into 20-plus, and then it stopped booting altogether. With no internet and only basic electronics skills, it was beyond me to repair, so I sold it to someone who thought he could restore it. I think it ended up rotting.
The build
1 The control panel (2005)
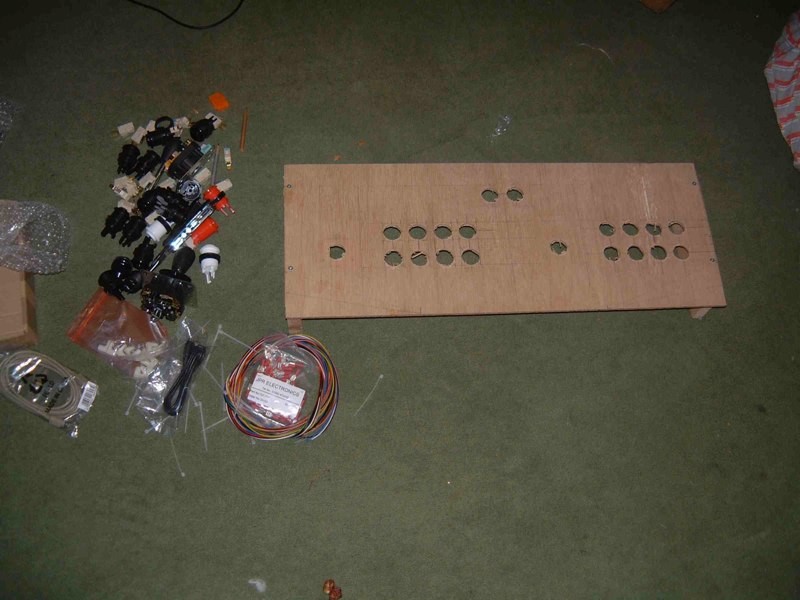
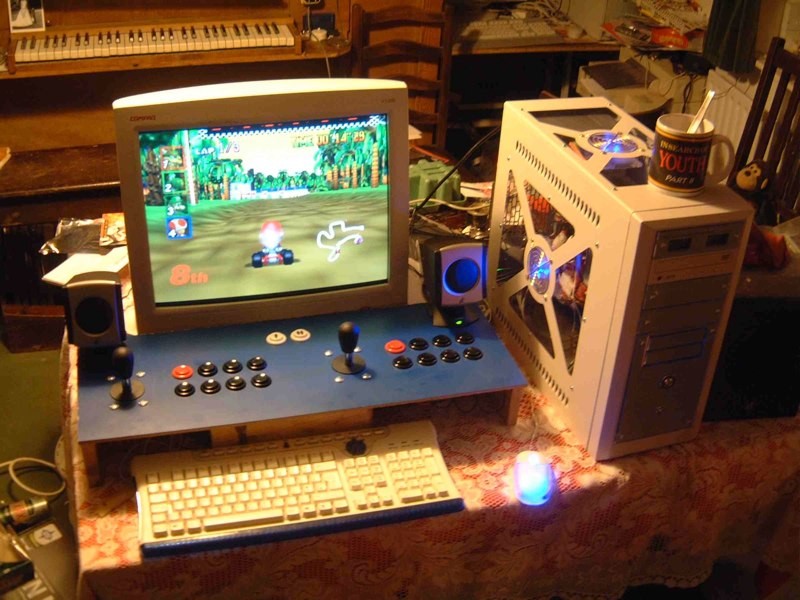
Back in 2005 I started building an arcade machine. I ordered a bunch of buttons, two joysticks and a circuit board to wire them all into from Ultimarc, and drew a lot of plans, many of them at the pub.
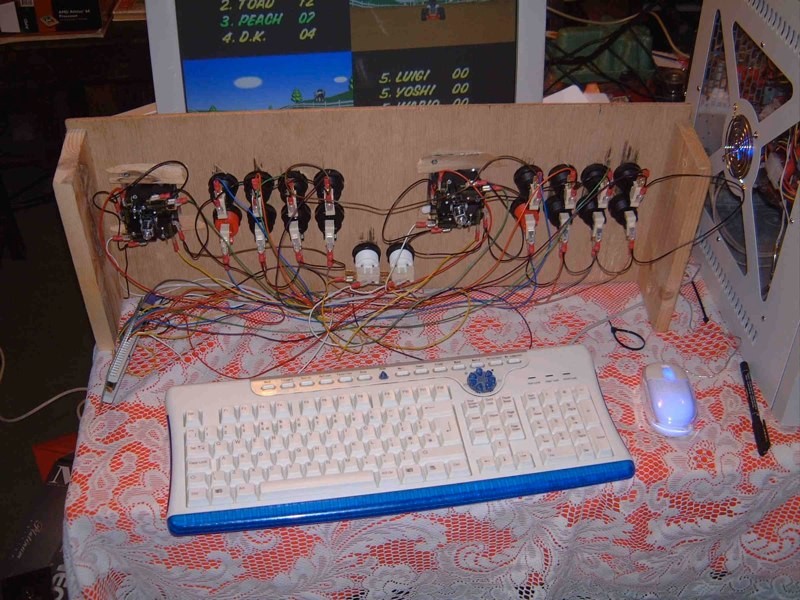
With the holes cut and the buttons ready to fit, I glued blue kitchen worktop laminate on top for the finish. After cutting and crimping a lot of wires, the board was ready to test.


2 Five years on a shelf
The first mock-up is where it all went wrong. It sat like this for a while, then my office PC died, so the computer I’d built for the arcade machine started having bits pulled out of it.
The panel spent the next five years on a shelf, coming out in front of the TV for the occasional game. Every time I used it I thought of the arcade machine I’d started and never finished. Then, in mid-April 2010, I had three weeks between jobs and decided to finish what I’d started.

3 Find the angles
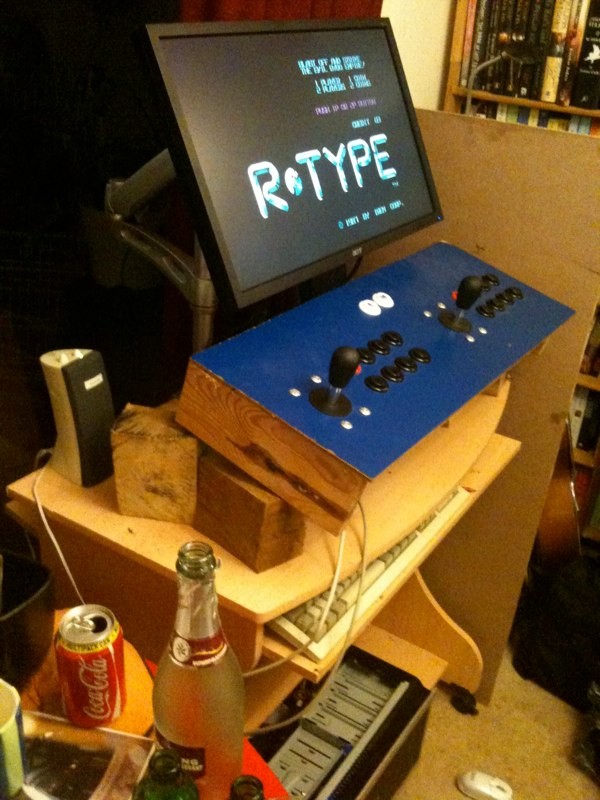
To settle the heights and angles of the control panel and monitor, I used an arm and some blocks to experiment, and played games until it felt right. Then I drew round it.
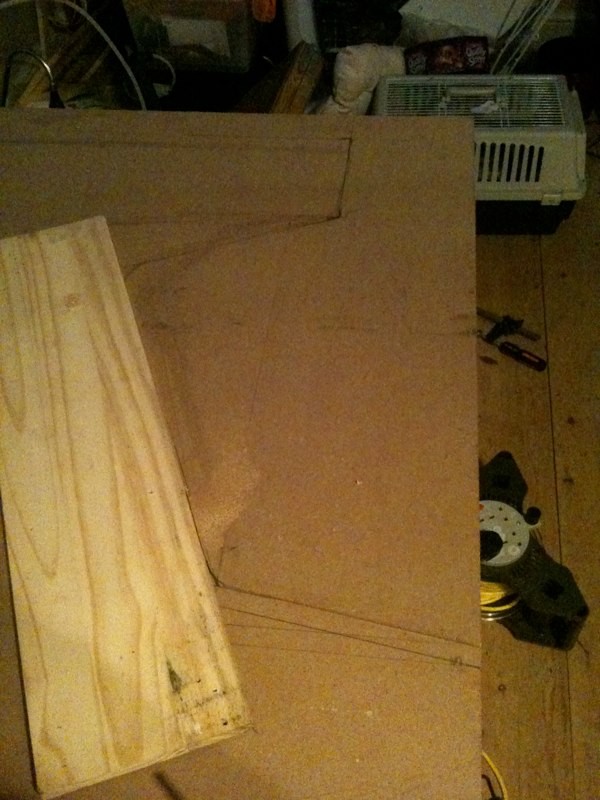
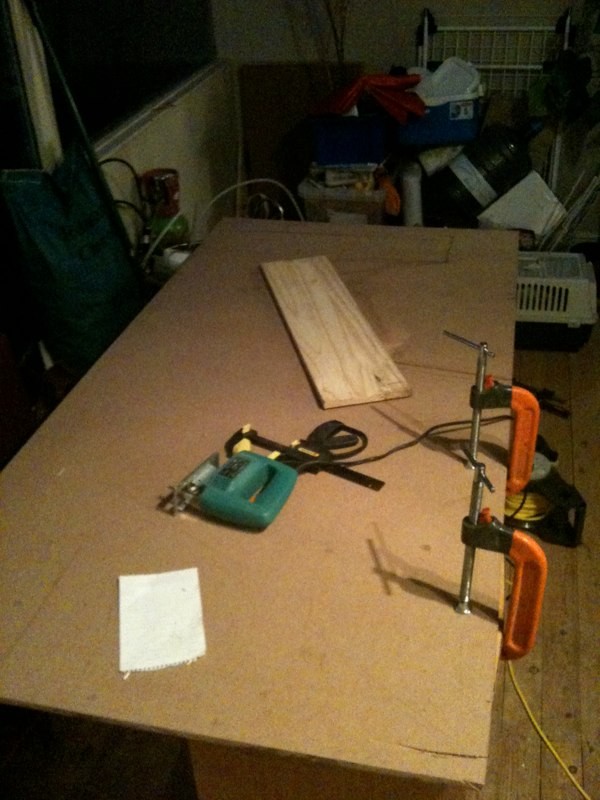
I drew the internal and external lines on the sheet of MDF, just so I could see what I was going to do at full scale, and started cutting.
4 Stand it up
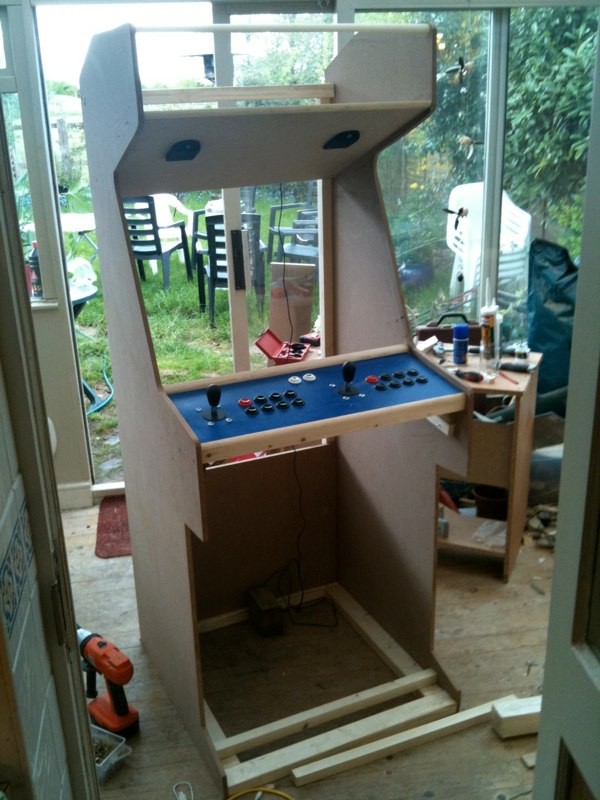
With the panel clamped between the two sides, it seemed to be going in the right direction. Some framework later, with the control panel fitted properly, it stood up on its own.
Pine quadrant moulding gave it nice rounded edges.


5 Make it up as I go
From here I was making it up as I went along: more framework, including a heavy lower frame, and the speakers mounted above the monitor on the overhang. Sheet metal was on special offer at Homebase (£10), so I had to grab some for the footrest.
Then the monitor frame went in, the PC was installed, and the first games were played.

6 Glass and artwork
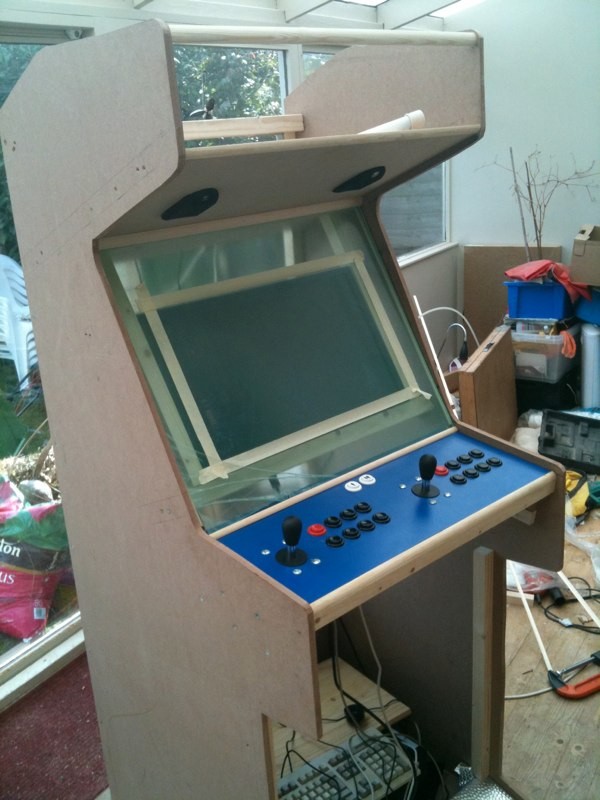
The plexiglass came from Hayden Brown Plastics in Gloucester, and it fitted. I marked the viewing area on the glass with masking tape and put those measurements into Photoshop so I could have some fun designing the glass art.
I sent the finished files to Image Design in Gloucester, put a mock-up of the top art in place and gave the machine some paint. It was starting to look like a proper arcade machine. Then I was just waiting for the call to collect the glass from Staverton Airport, where Image Design are based. It all fitted nicely.



7 Paint, software and a keyboard tray
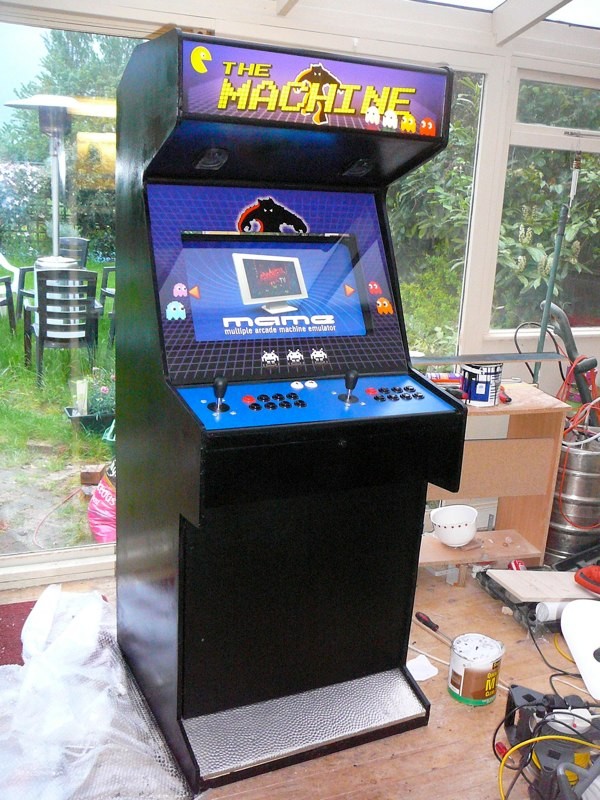
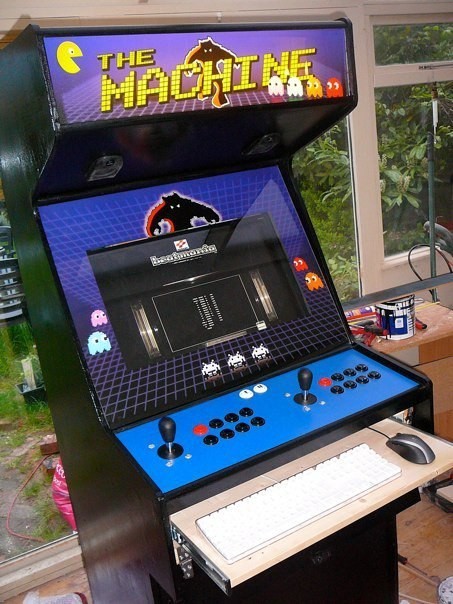
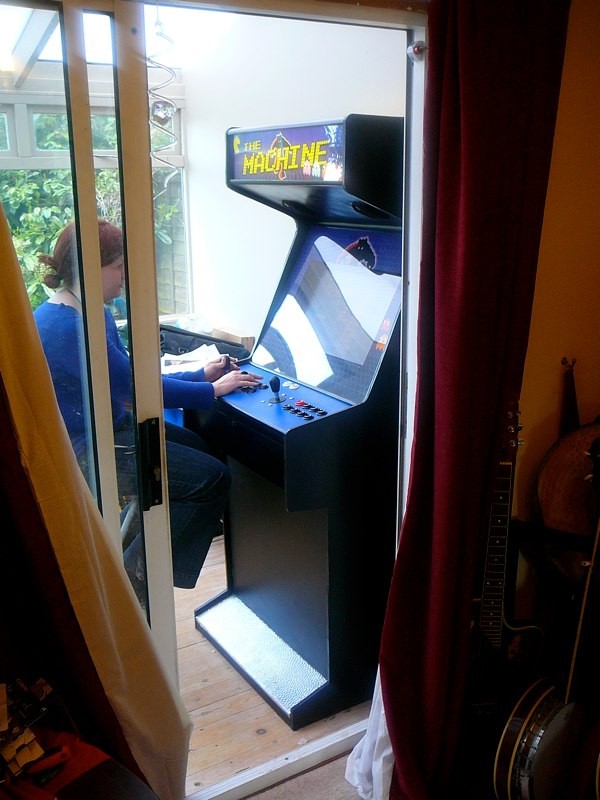
More paint, and a proper software front end: Maximus Arcade, which boots straight into a menu of games. Then a pull-out keyboard tray under the control panel for when it needs looking after. Finally, it looked finished.

The finished Machine

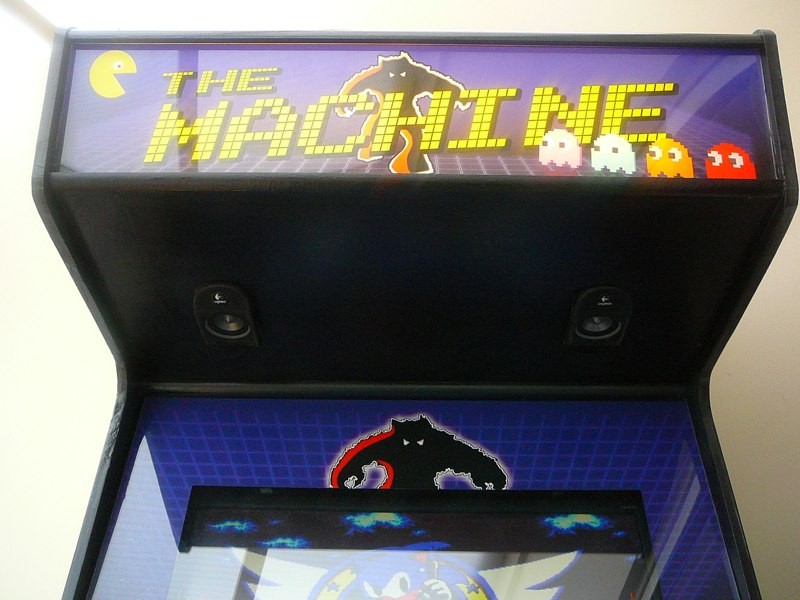
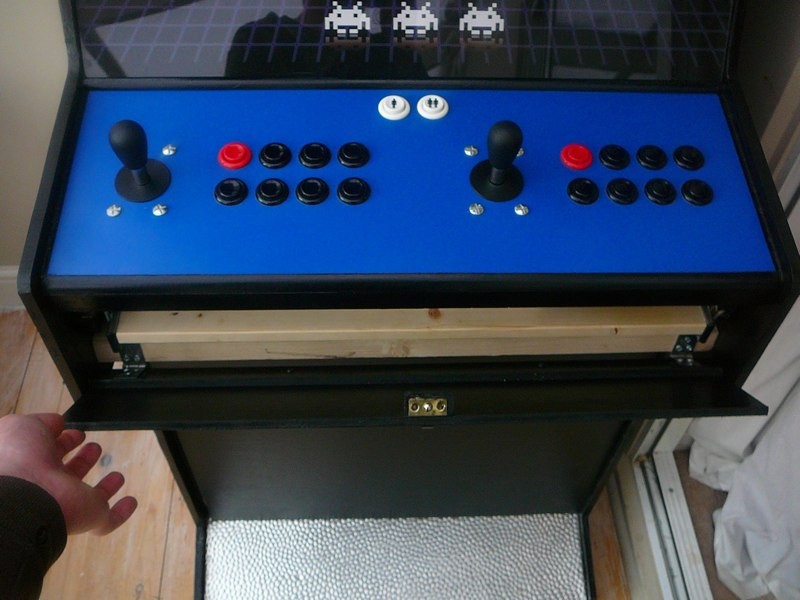
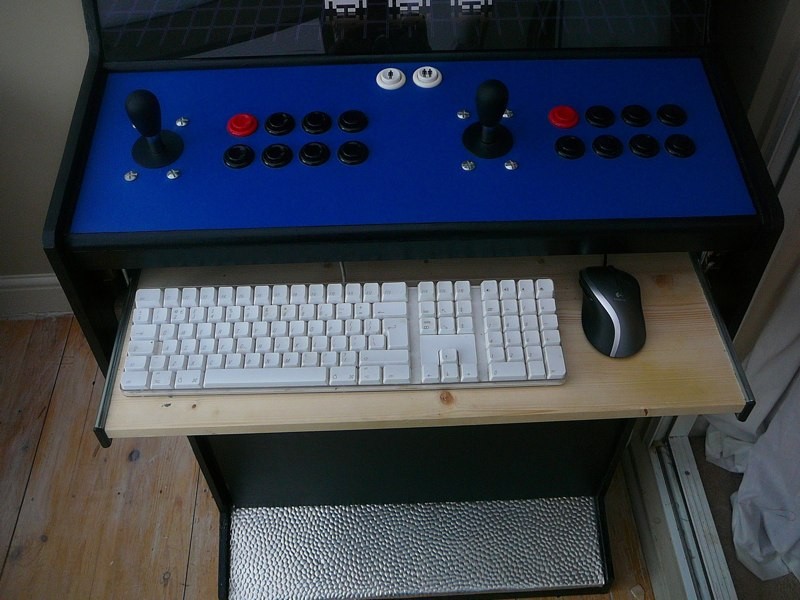
The inside houses the workings of the machine, and doubles as a toolshed.
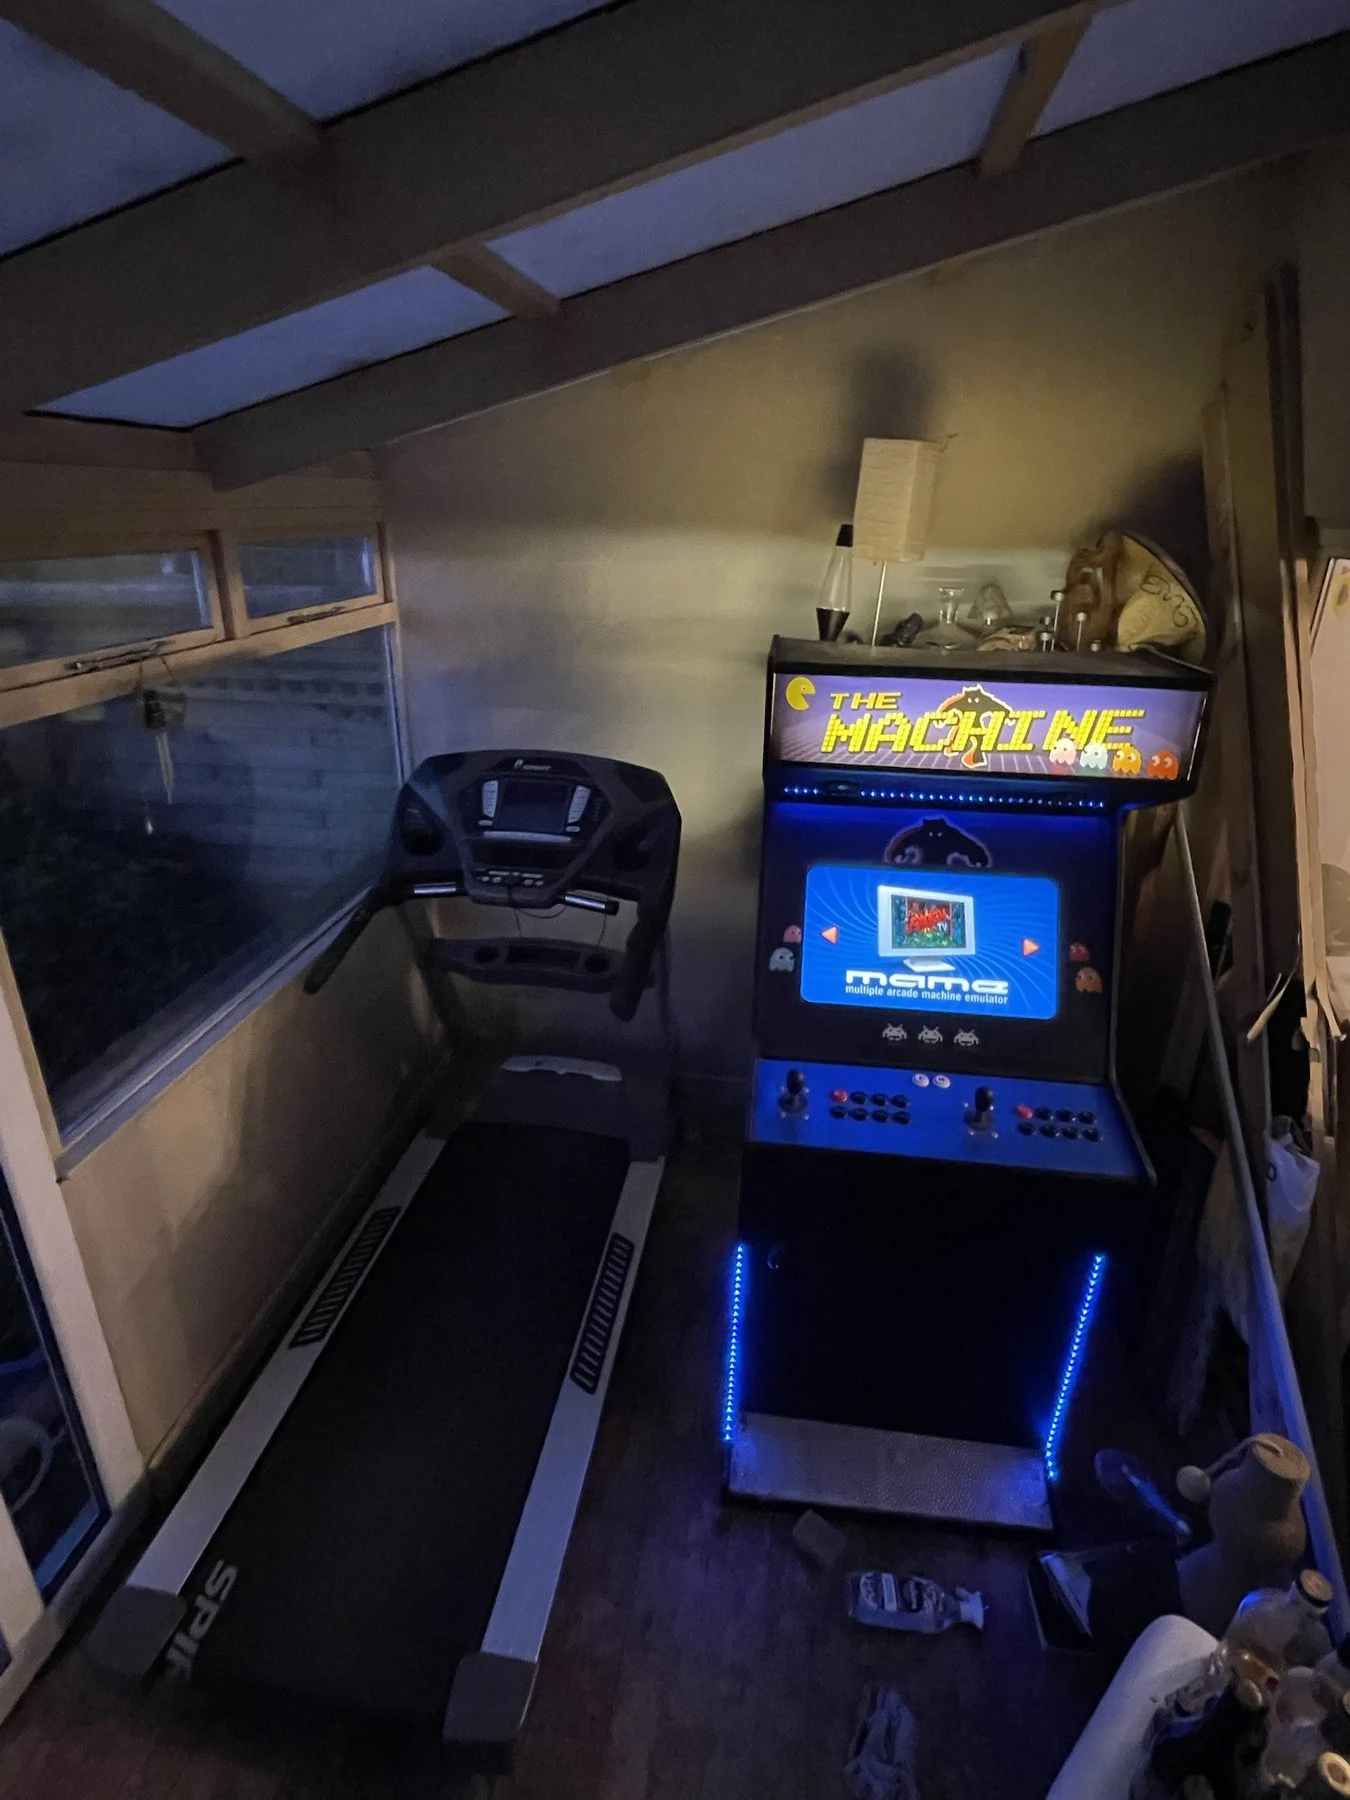
After a big tidy-up, The Machine moved to its new home. Then came the lights.

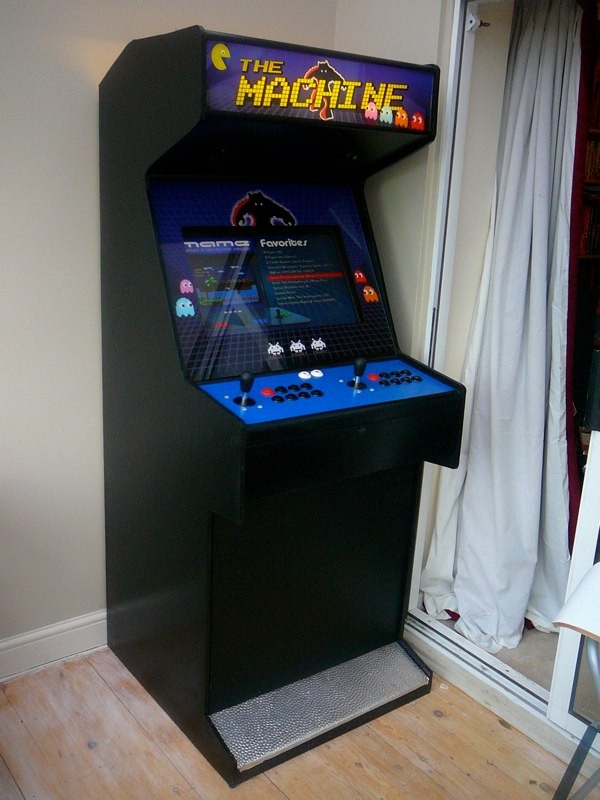

The Machine today
It still lives at home, between the treadmill and the shelves. The motherboard inside is over 20 years old, and right now it doesn’t power up, so it’s due a look.
It has two younger siblings: the SPACEMACHINE bartop and the tiny mini Machine.

Links
- Maximus Arcade, the front end
- MAME (Multiple Arcade Machine Emulator)
- Ultimarc, home of the I-PAC
- Image Design, who printed the glass
Build and photos by Stuart Fox, 2005–2010. Adapted from the original build diary on goodsounds.co.uk.
Composer for TV and film. If you're working on something, I'd love to hear about it.