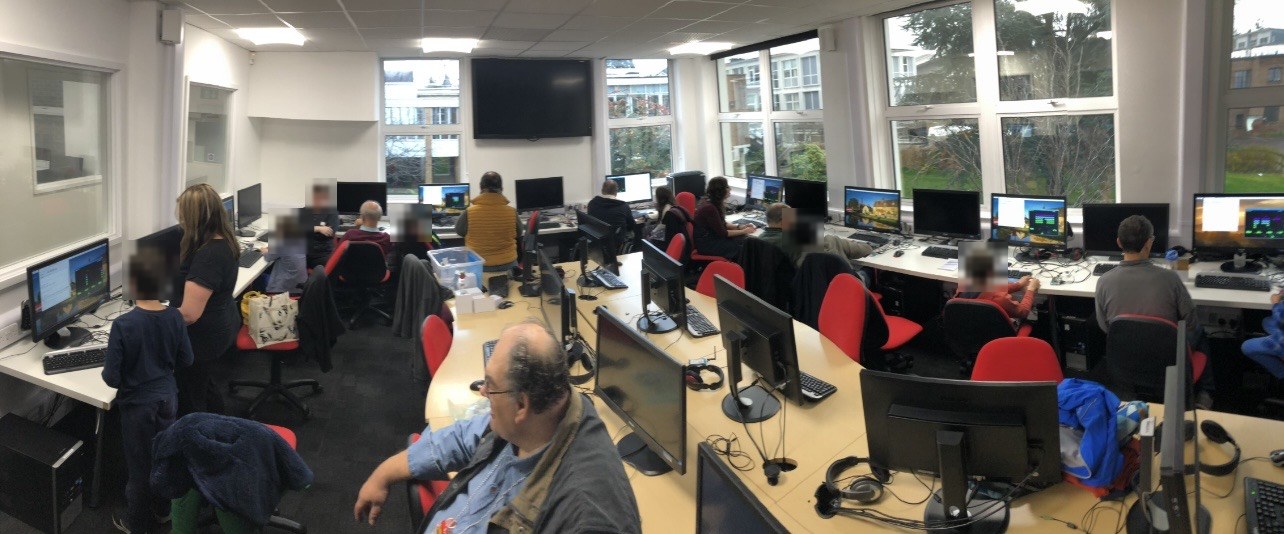
From my days helping out at the fabulous Cotswold Pi Jam: a Python project I wrote for one of the tutorial sessions, and a great first step into wiring physical buttons and switches into your own code.
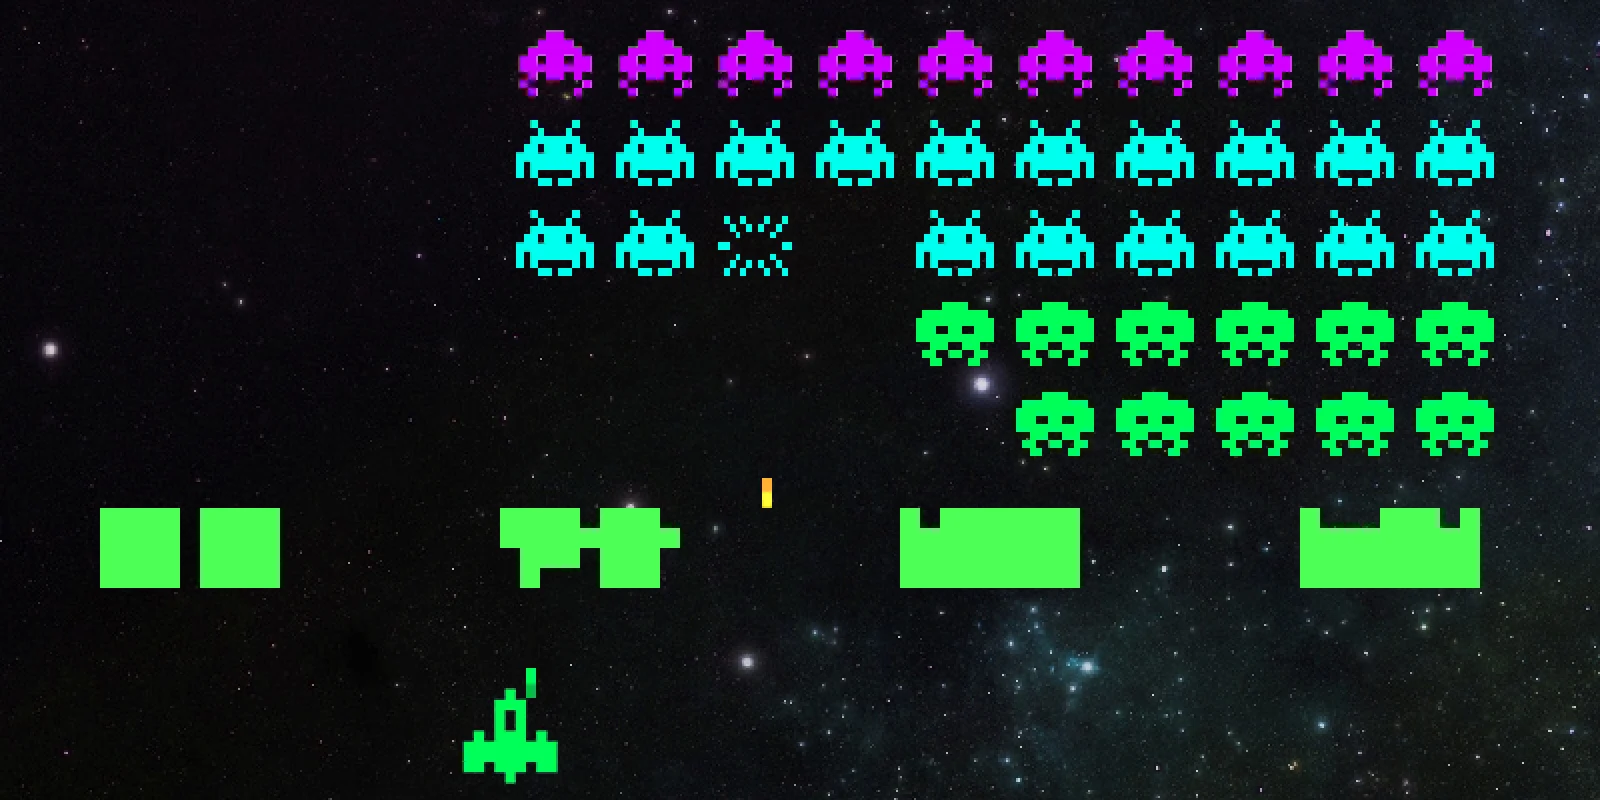
We’ll build a small three-button control panel, wire it to a Raspberry Pi’s GPIO pins, write a few lines of Python to read the buttons, then use what we’ve learnt to play a version of Space Invaders modified to work with our new controller.
What you’ll learn
- How a breadboard connects components
- Wiring push buttons to the Pi’s GPIO pins
- Reading button presses in Python with the
gpiozerolibrary - How a real game uses the same technique
What you’ll need
- A Raspberry Pi with Raspberry Pi OS, keyboard, mouse and screen
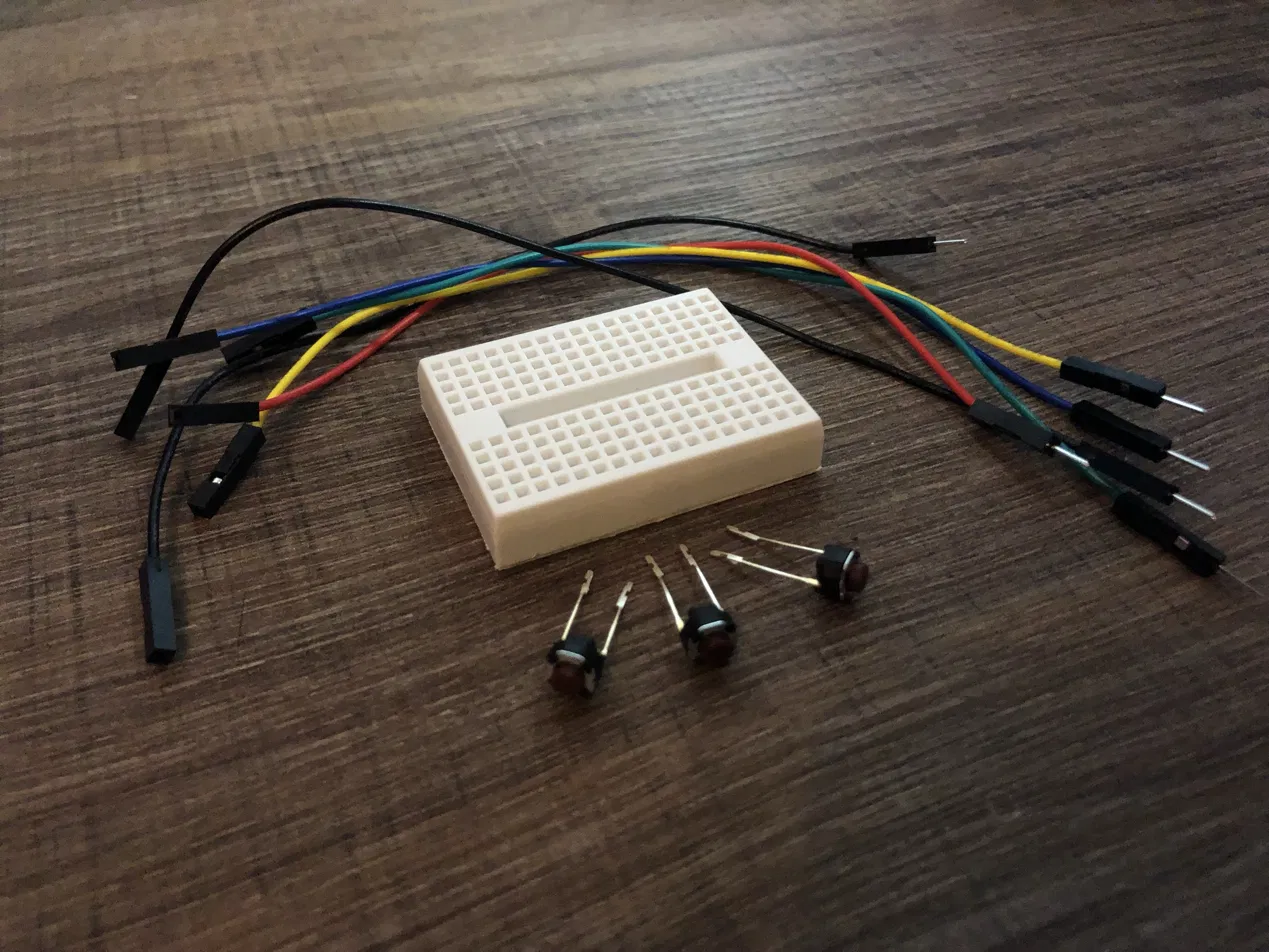
- 1 × mini breadboard
- 3 × momentary push buttons
- 6 × male-to-female jumper leads (pin to socket)
Part 1: Build the controller
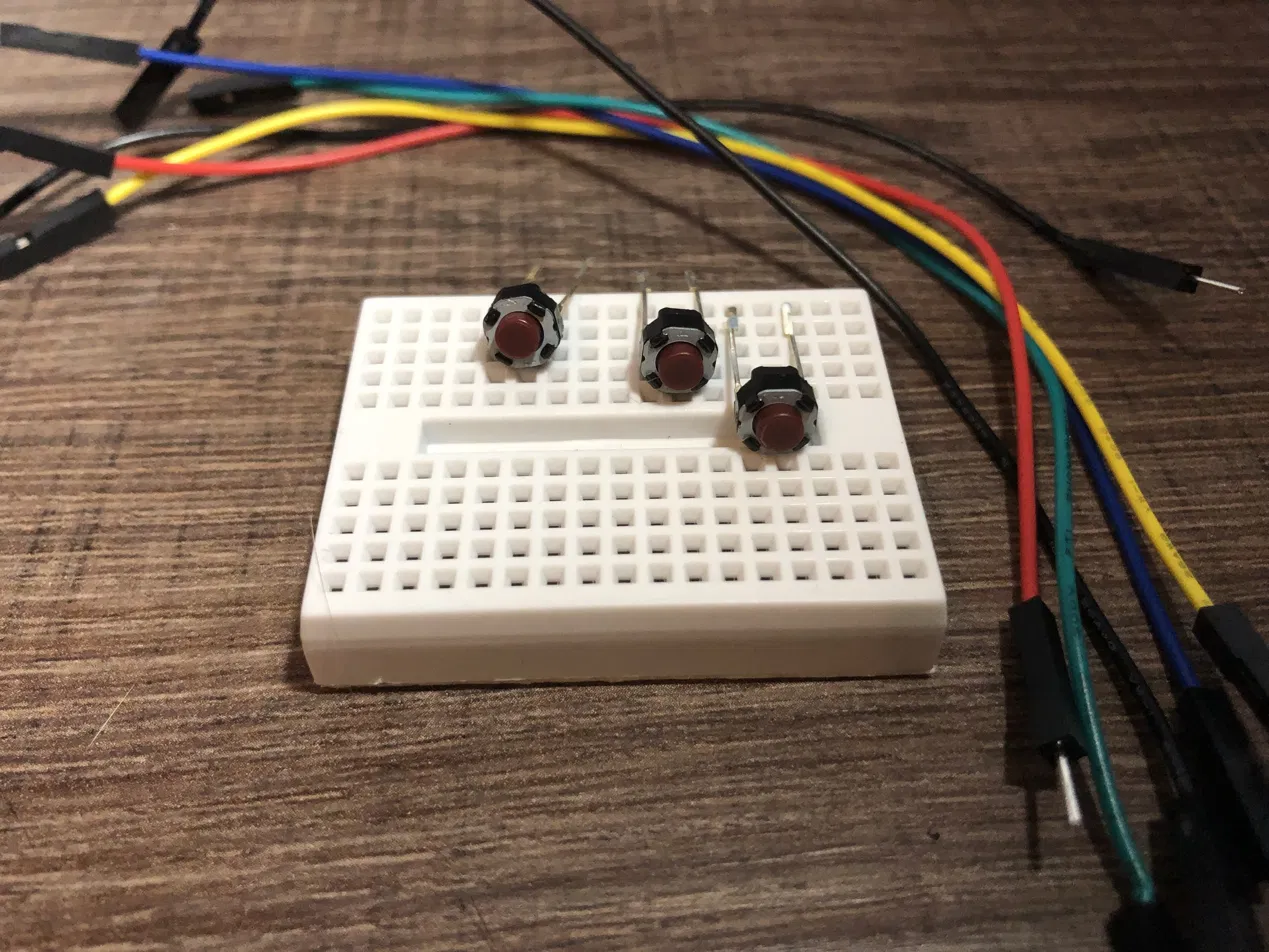
1 Bend the buttons
Hold a button by its connectors and carefully bend it so it sits at 90 degrees to the pins. Go slowly and gently so the connectors don’t snap. Do the same with the other two.


2 Place the buttons on the breadboard
Lay the breadboard in front of you as in the diagram, and use its numbers and letters to find each hole.
- Button 1 into holes E1 and E3, facing away from you
- Button 2 into E5 and E7
- Button 3 into E15 and E17

Part 2: Wire it to the Pi
Before you start: shut the Pi down and unplug the power.

The colour of the jumper leads doesn’t matter. Where you plug them in does. Connect each breadboard hole to the Pi pin shown:
| Breadboard | Raspberry Pi pin | |
|---|---|---|
| A1 | Pin 29 (GPIO 5) | Button 1 |
| A3 | Pin 39 (GND) | Button 1 |
| A5 | Pin 31 (GPIO 6) | Button 2 |
| A7 | Pin 25 (GND) | Button 2 |
| A15 | Pin 33 (GPIO 13) | Button 3 |
| A17 | Pin 34 (GND) | Button 3 |

Each button gets one lead to a GPIO pin (which the program watches) and one to a ground pin (GND). Pressing the button connects the two. Double-check every lead before you power up.
Part 3: Test it with some code
Power up the Pi and open Thonny Python IDE from the Programming menu. Type in this program:
from gpiozero import Button
from signal import pause

button_1 = Button(5)
button_2 = Button(6)
button_3 = Button(13)

def buttonone():
    print("Button 1")

def buttontwo():
    print("Button 2")

def buttonthree():
    print("Button 3")

button_1.when_pressed = buttonone
button_2.when_pressed = buttontwo
button_3.when_pressed = buttonthree

pause()
Save it with File → Save As (any name, ending in .py), then click ▶ Run at the top of the window. Press each button: the program should print its name every time.
How it works
from gpiozero import Button
from signal import pause
The from lines tell the computer to learn some new things. Programs can borrow code other people have written; these collections are called libraries. We need Button from the gpiozero library to detect presses, and pause from the signal library to keep the program waiting.
button_1 = Button(5)
button_2 = Button(6)
button_3 = Button(13)
These give each button a name and tell the program which GPIO it’s wired to: GPIO 5, 6 and 13, which are physical pins 29, 31 and 33 on the header.
def buttonone():
    print("Button 1")
This sets up a function: a set of instructions waiting to be triggered. Each of ours does one thing, printing some text. In the Space Invaders code you’ll see functions like these doing several things at once.
button_1.when_pressed = buttonone
pause()
This connects the button to its function, so a press runs it. pause() keeps the program running, waiting for presses, until you stop it.
Part 4: Play Space Invaders
With the controller built and tested, it’s time to defend Earth. Download the game (buttoninvaders.zip), unzip it on your Pi, then in Thonny open buttoninvaders.py with File → Open. Keep the fonts, images and sounds folders next to it.
Turn on line numbers (Tools → Options → Editor → Show line numbers), then look at lines 12–20, 55–63 and 451–484. They’re commented to show how the game was changed to use our buttons. You’ll recognise the technique from Part 3.
Click ▶ Run, then press fire (or the space bar) to start. If Thonny says No module named pygame, open a Terminal and type sudo apt install python3-pygame.
- Button 1: move left
- Button 2: move right
- Button 3: fire

Download the game (ZIP)Space Invaders by Lee Robinson, modified for the controller, plus the button test program
Download the printable tutorial (PDF)The original handout from the Cotswold Pi Jam packs
Tutorial, photos and controller modifications by Stuart Fox, released into the public domain. Space Invaders game by Lee Robinson (MIT licence). The original is also on Wikimedia Commons and Wikibooks.
Composer for TV and film. If you're working on something, I'd love to hear about it.